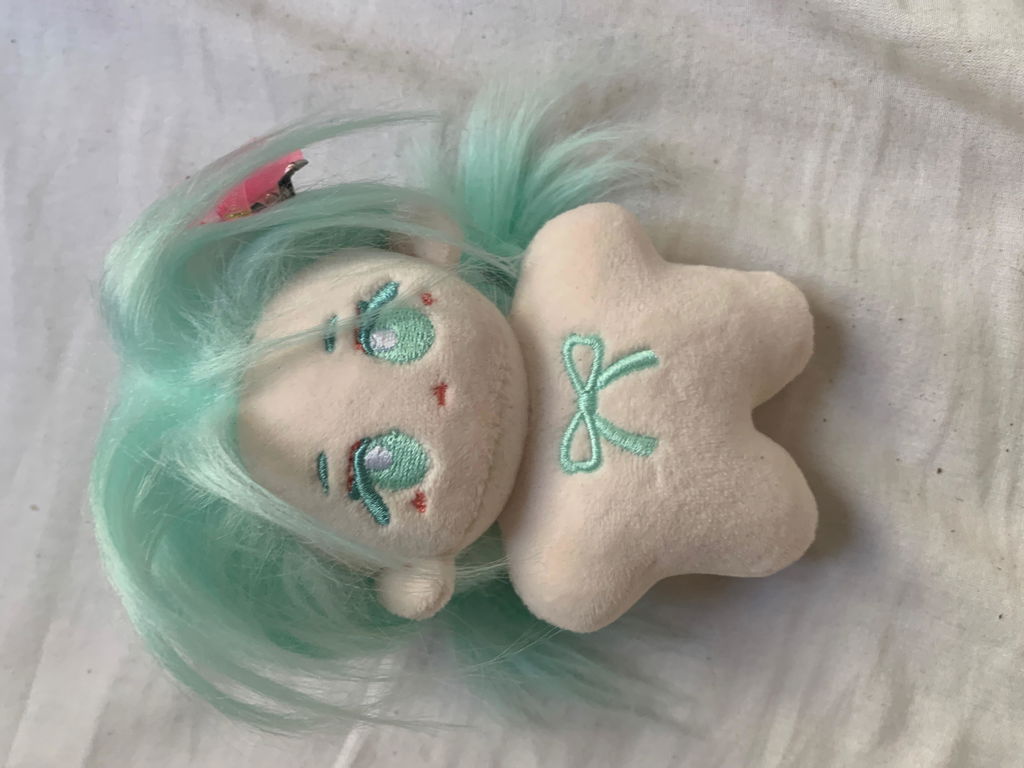
From Sketch to Stitch: How We Make Our 20cm Plush Doll Sailor Suit
Have you ever wondered what goes into making those adorable miniature sailor suits for your favorite 20cm plush dolls? Today, we're taking you behind the scenes of our workshop to show you the complete process — from the very first sketch to the final product on your shelf. Every piece of clothing we create at niannyyhouse is crafted with the same care and precision as full-sized garments, just scaled down to doll proportions.
Step 1: Design & Technical Drawing
Every great outfit starts with a design. Our process begins with detailed fashion flat drawings — technical illustrations that show the front and back views of each garment. These aren't just pretty pictures; they're blueprints that specify every seam, trim line, and construction detail.
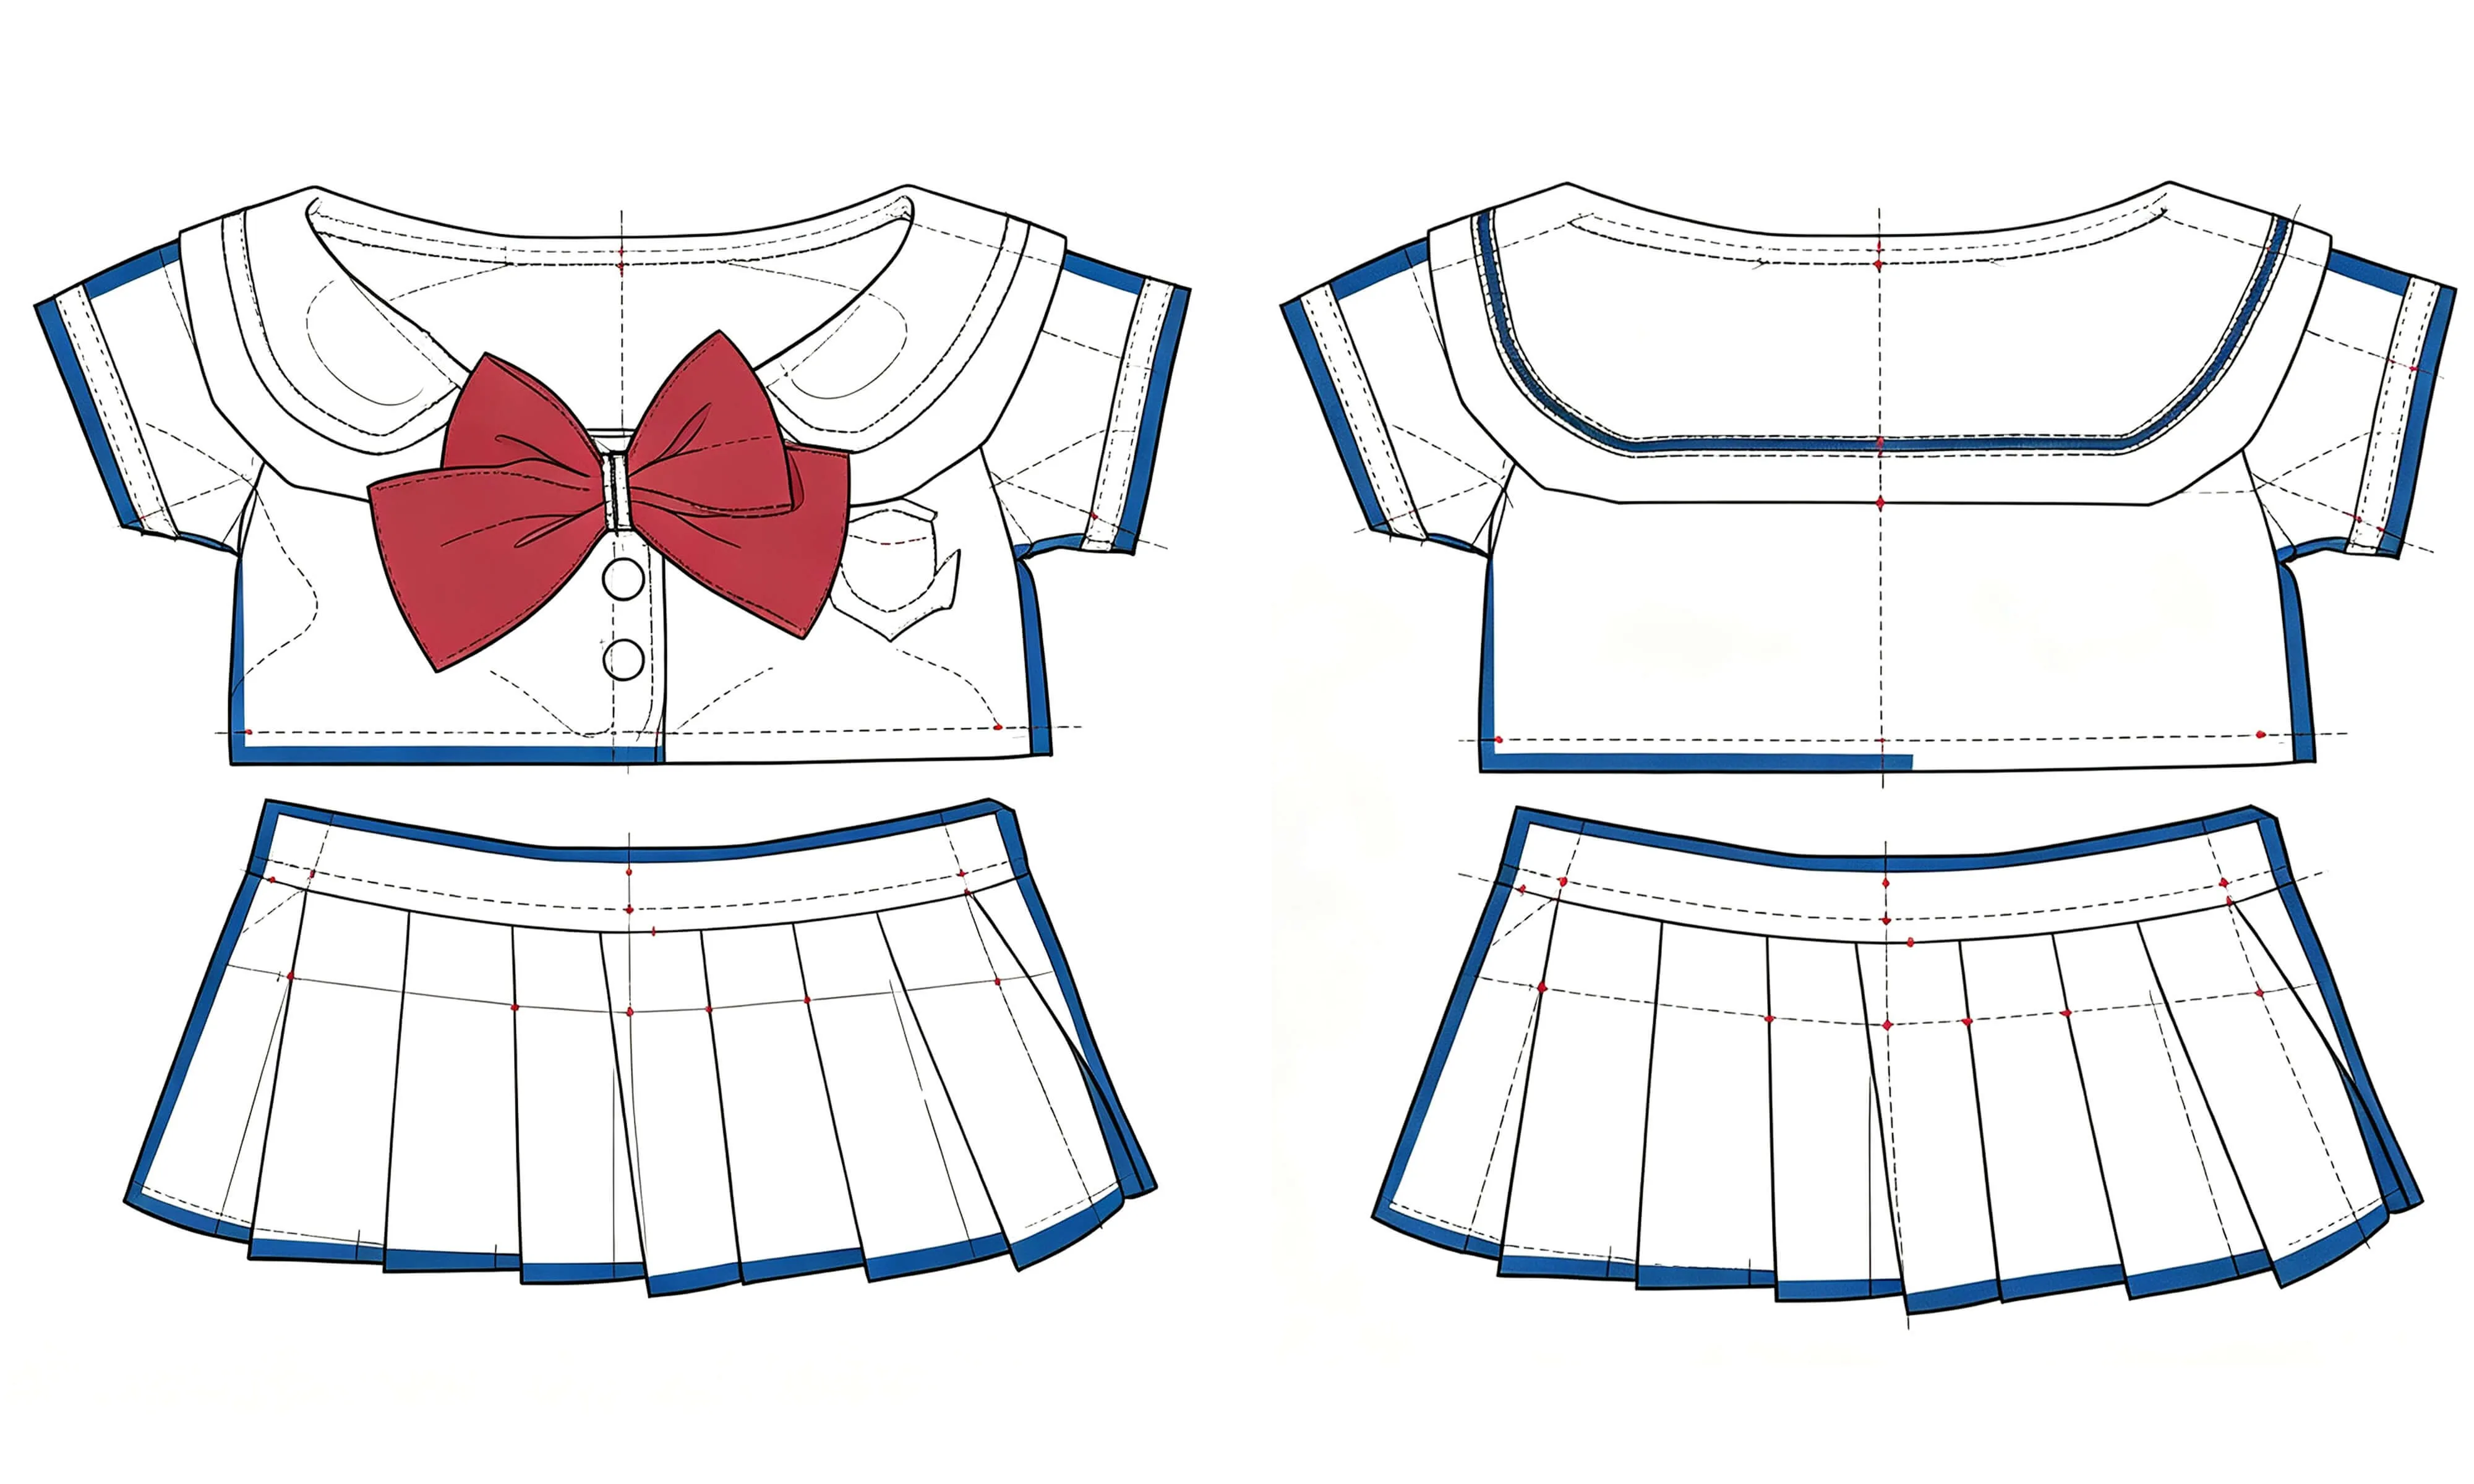
For our Dark Blue Sailor Suit, the design features a classic nautical aesthetic: a navy blue cropped top with a white sailor collar trimmed in gold stripes, a burgundy red bow at the center, and a pleated skirt — all proportioned perfectly for a 20cm (8-inch) plush doll.
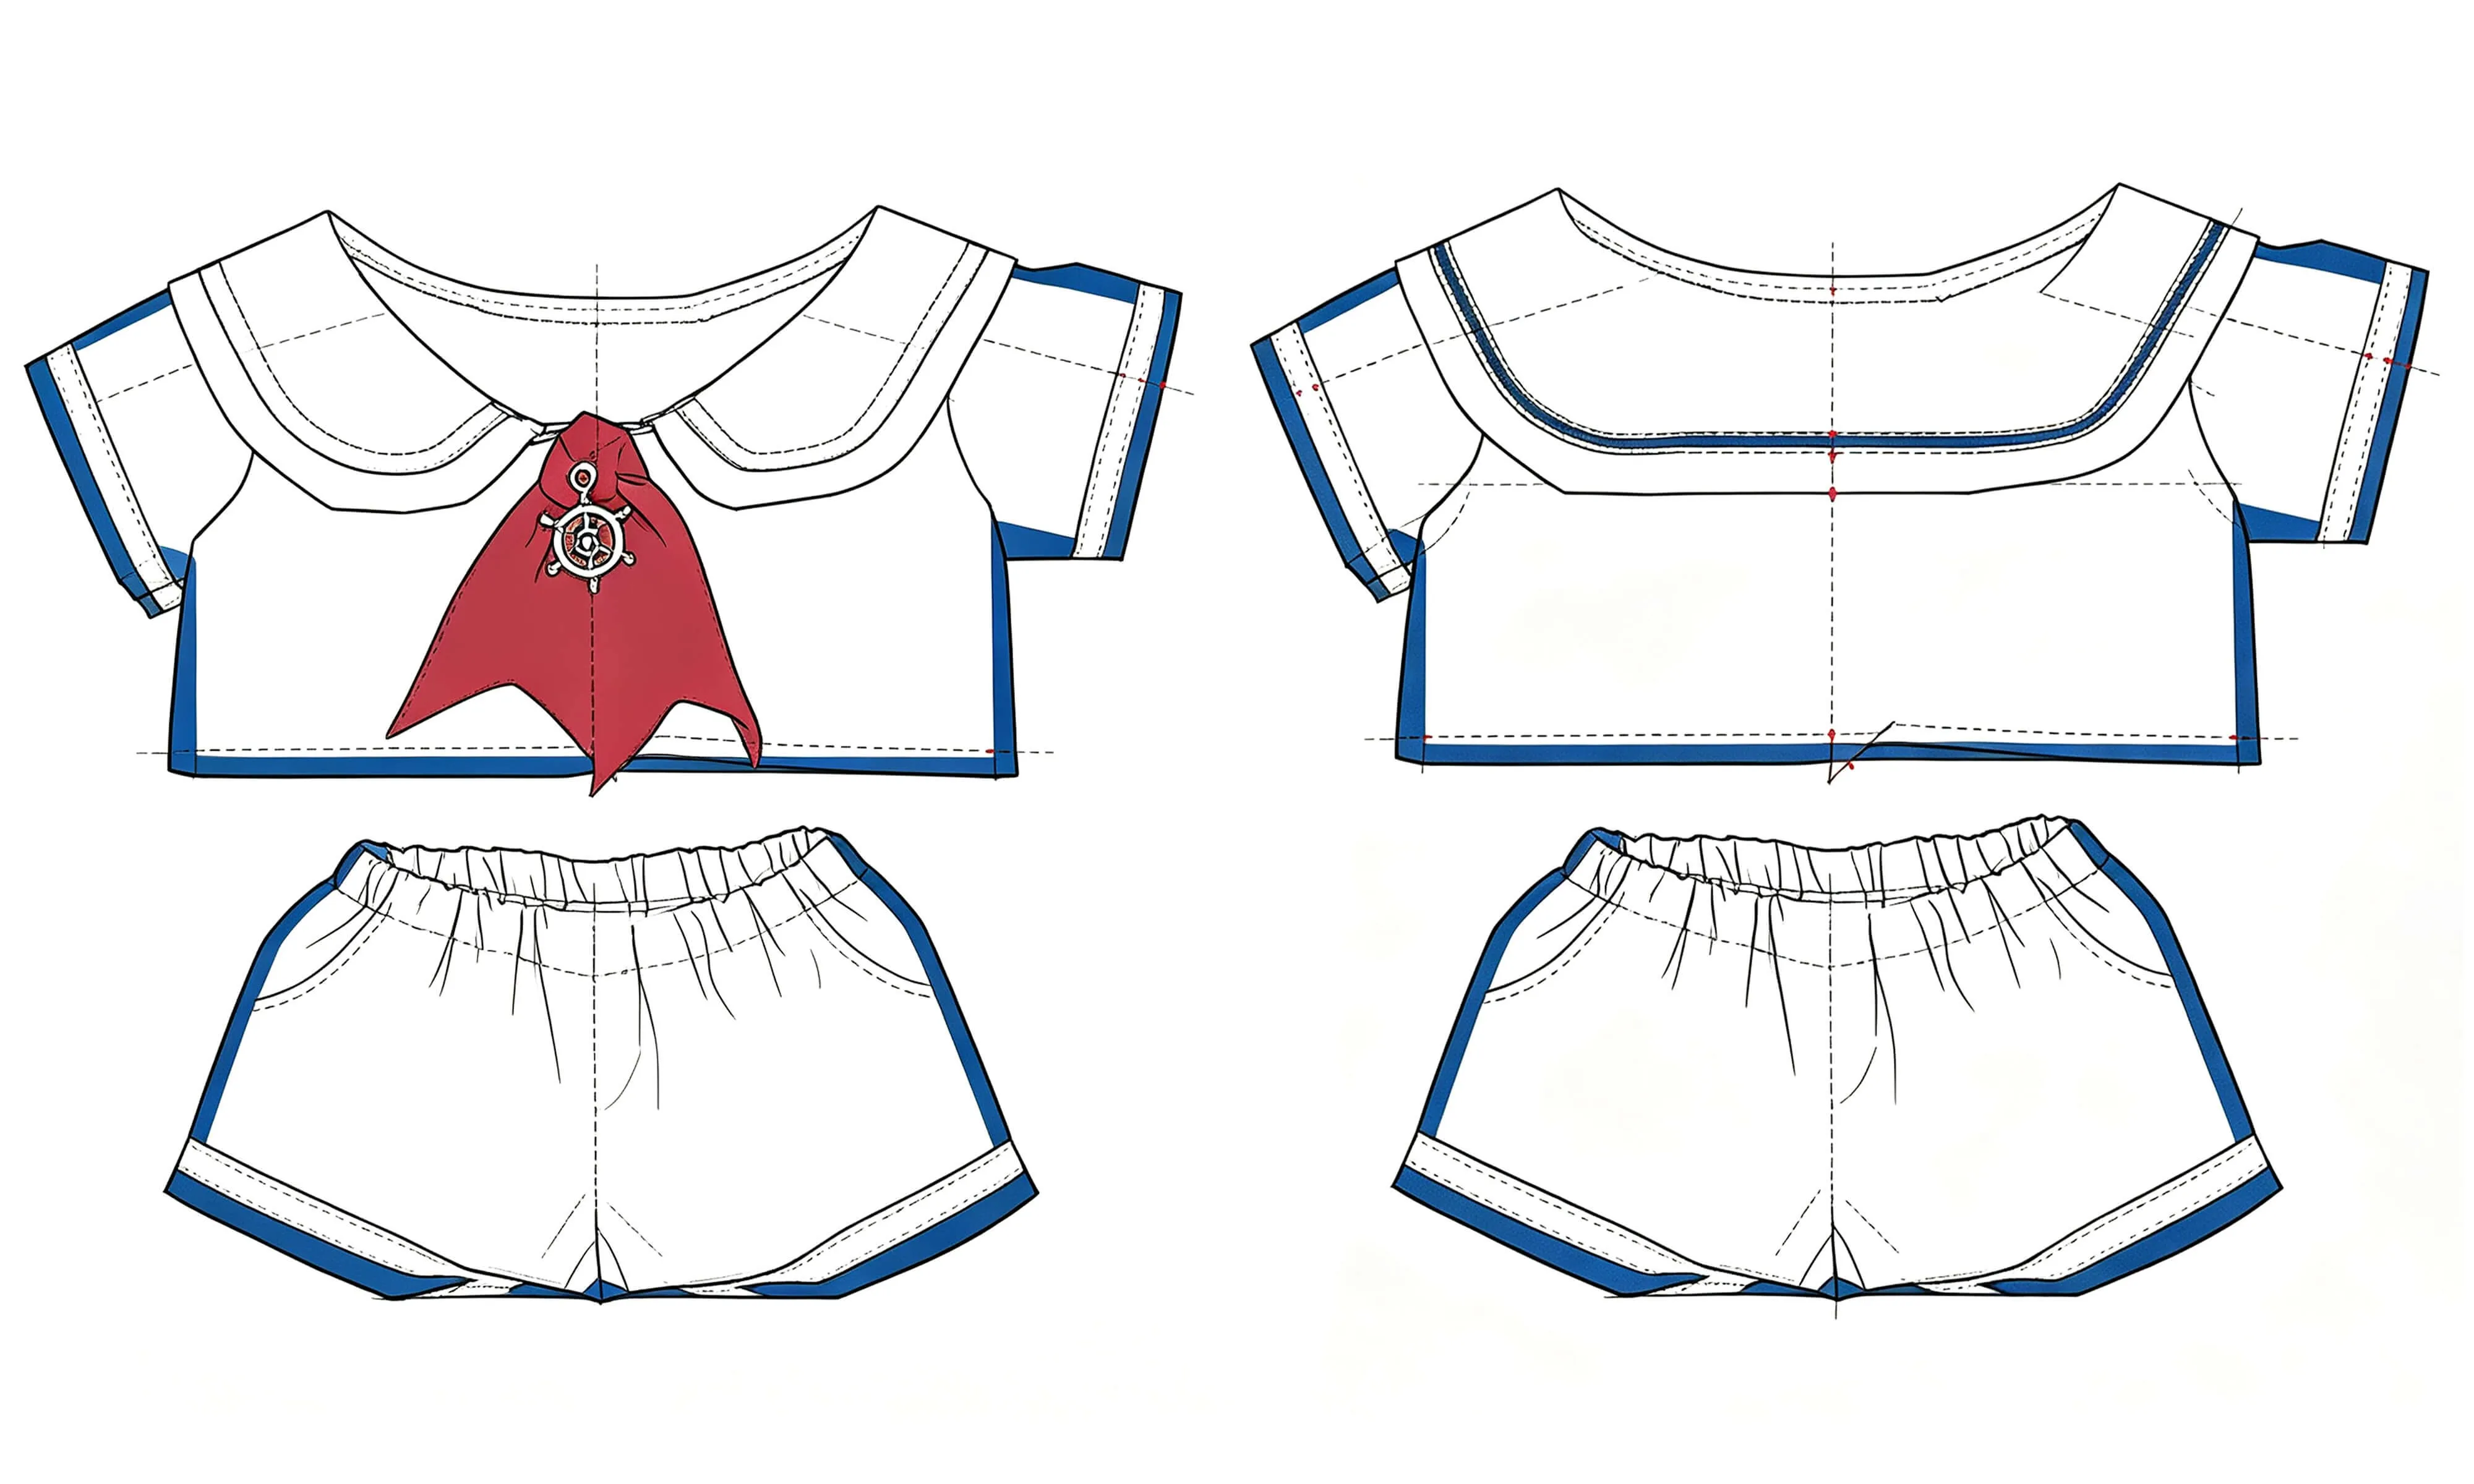
We also design variation pieces — like the shorts version with a red neckerchief and silver ship's wheel charm — giving you options to mix and match.
Step 2: Measuring the Doll
Before we cut any fabric, we need precise measurements. A 20cm plush doll might seem simple, but every part — arms, legs, torso, neck — has a specific circumference that determines how the clothing will fit.
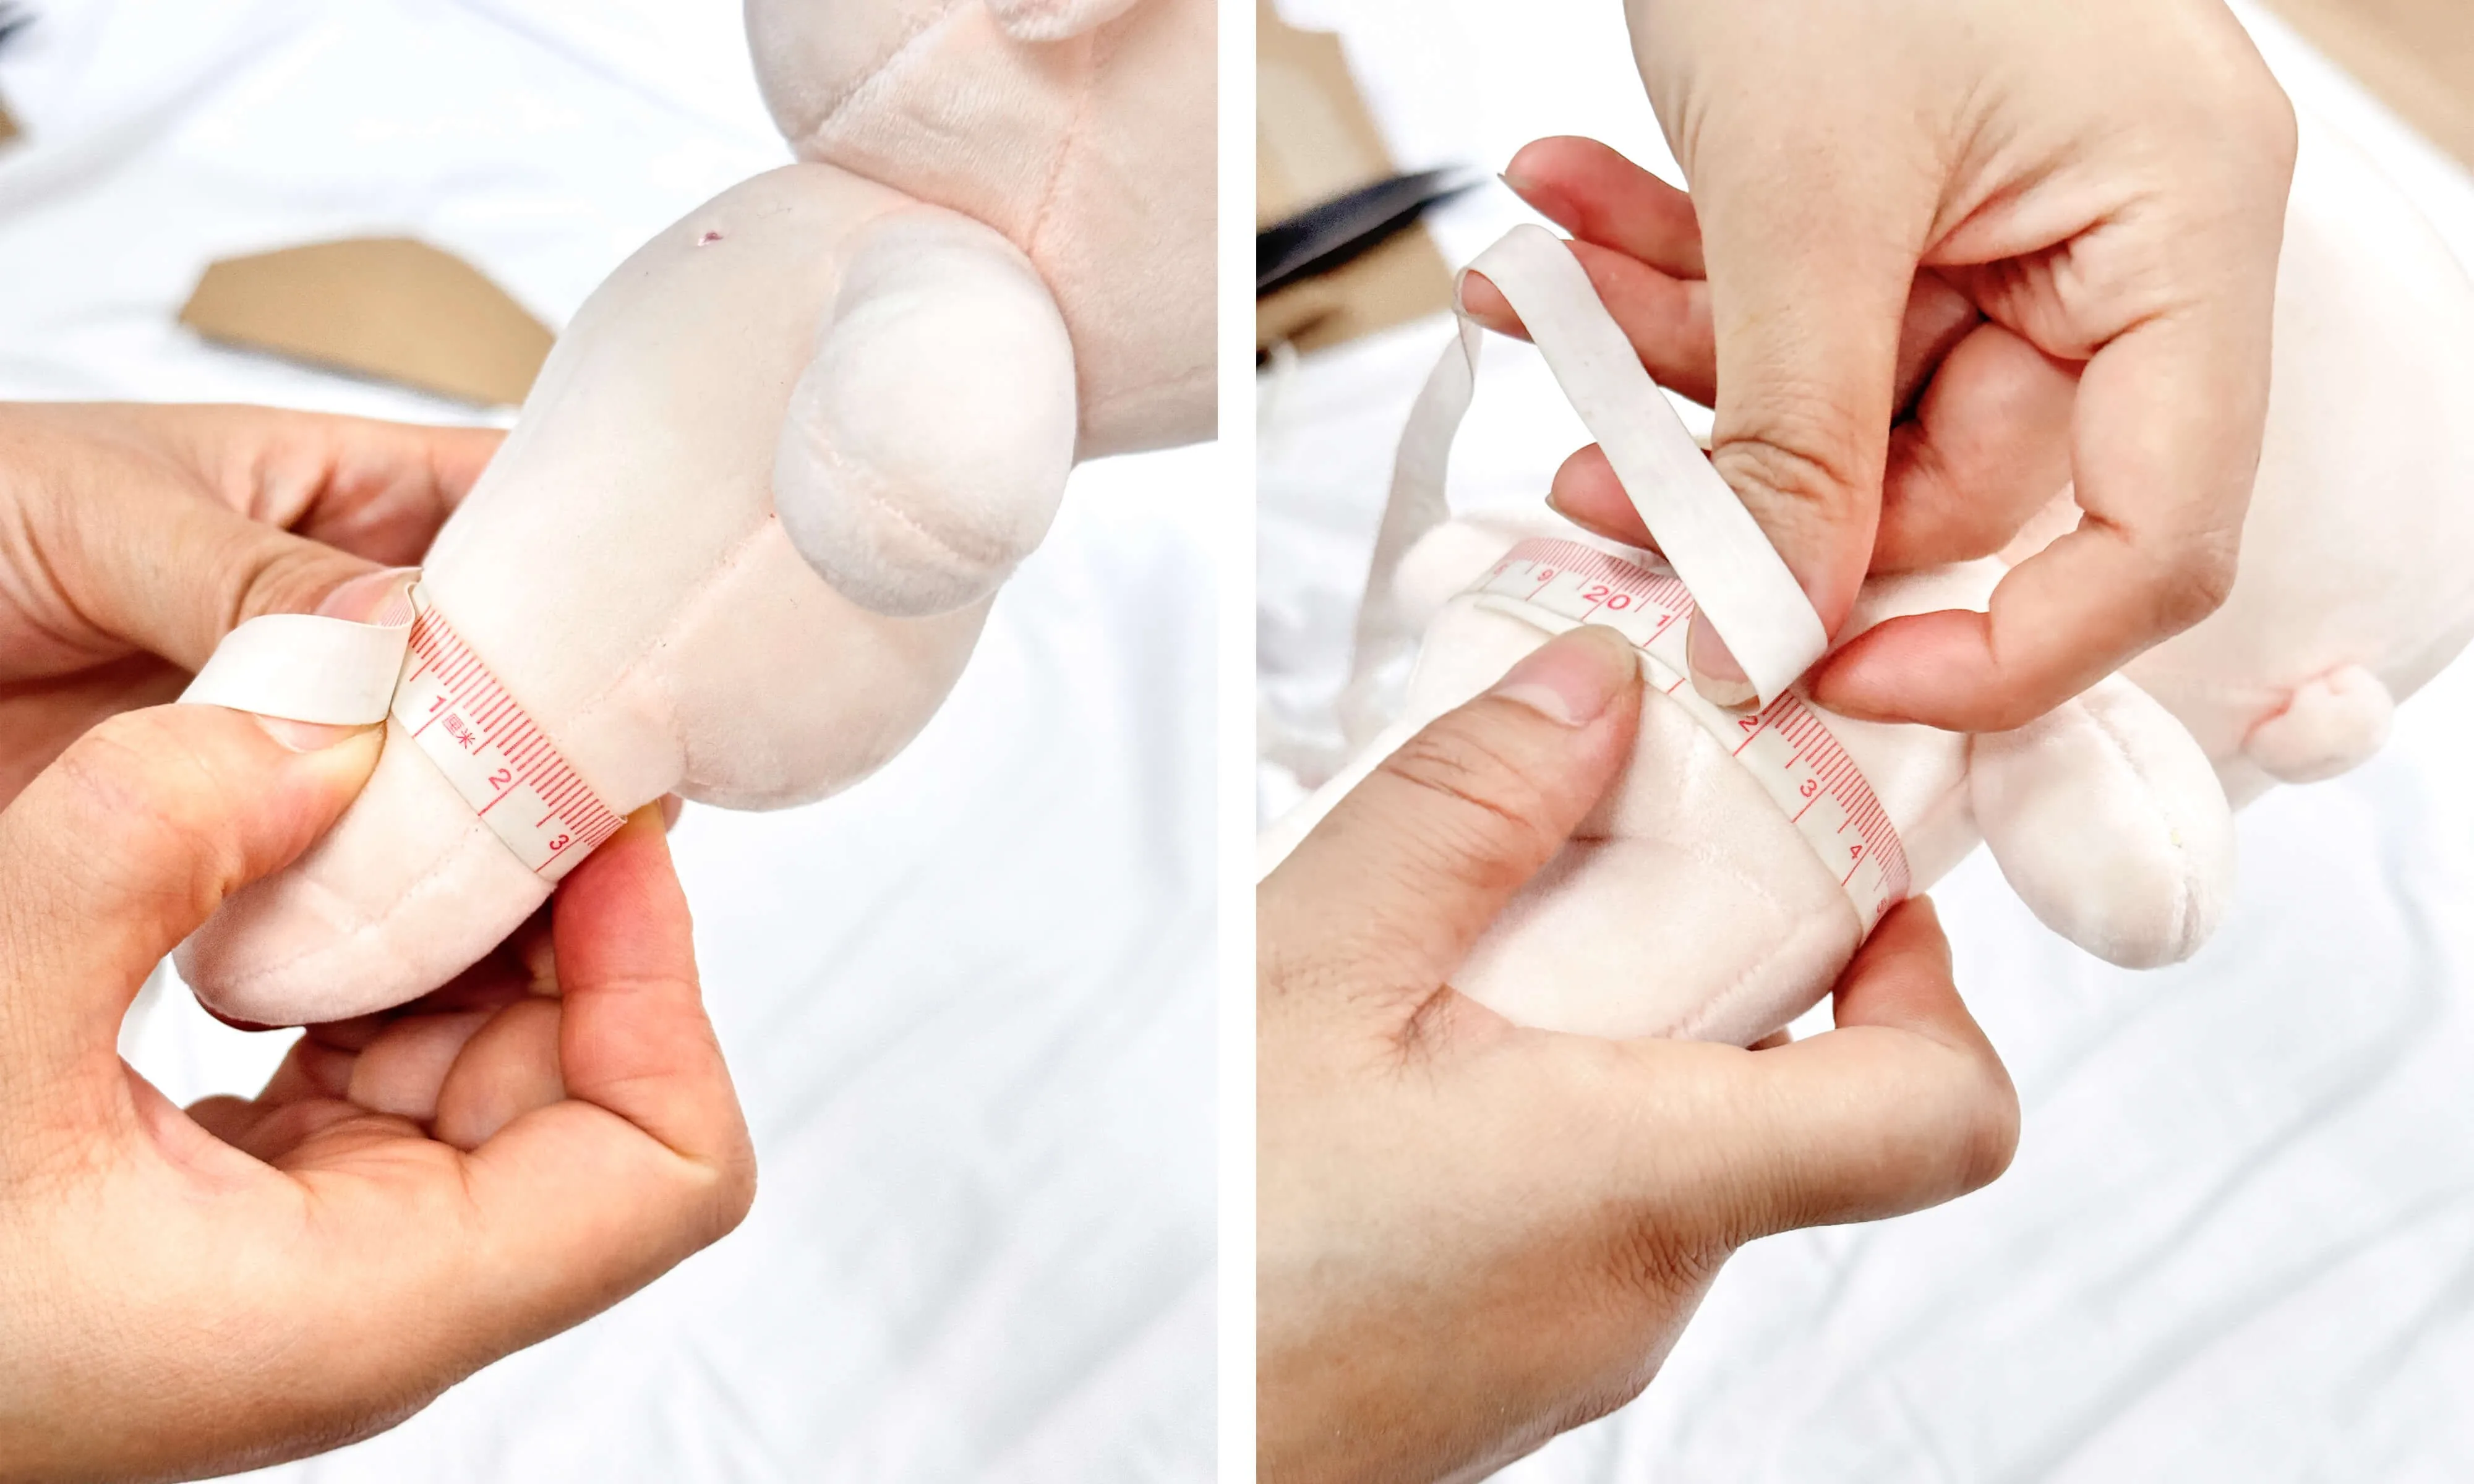
Using a flexible measuring tape, we carefully measure each part of the doll. These measurements are critical — even a 1mm difference can mean the difference between a outfit that slides on perfectly and one that's too tight or too loose.
Step 3: Creating Pattern Templates
Once we have the measurements, we create rigid pattern templates from sturdy cardboard. These templates ensure that every single piece we cut is identical — whether we're making one outfit or one hundred.
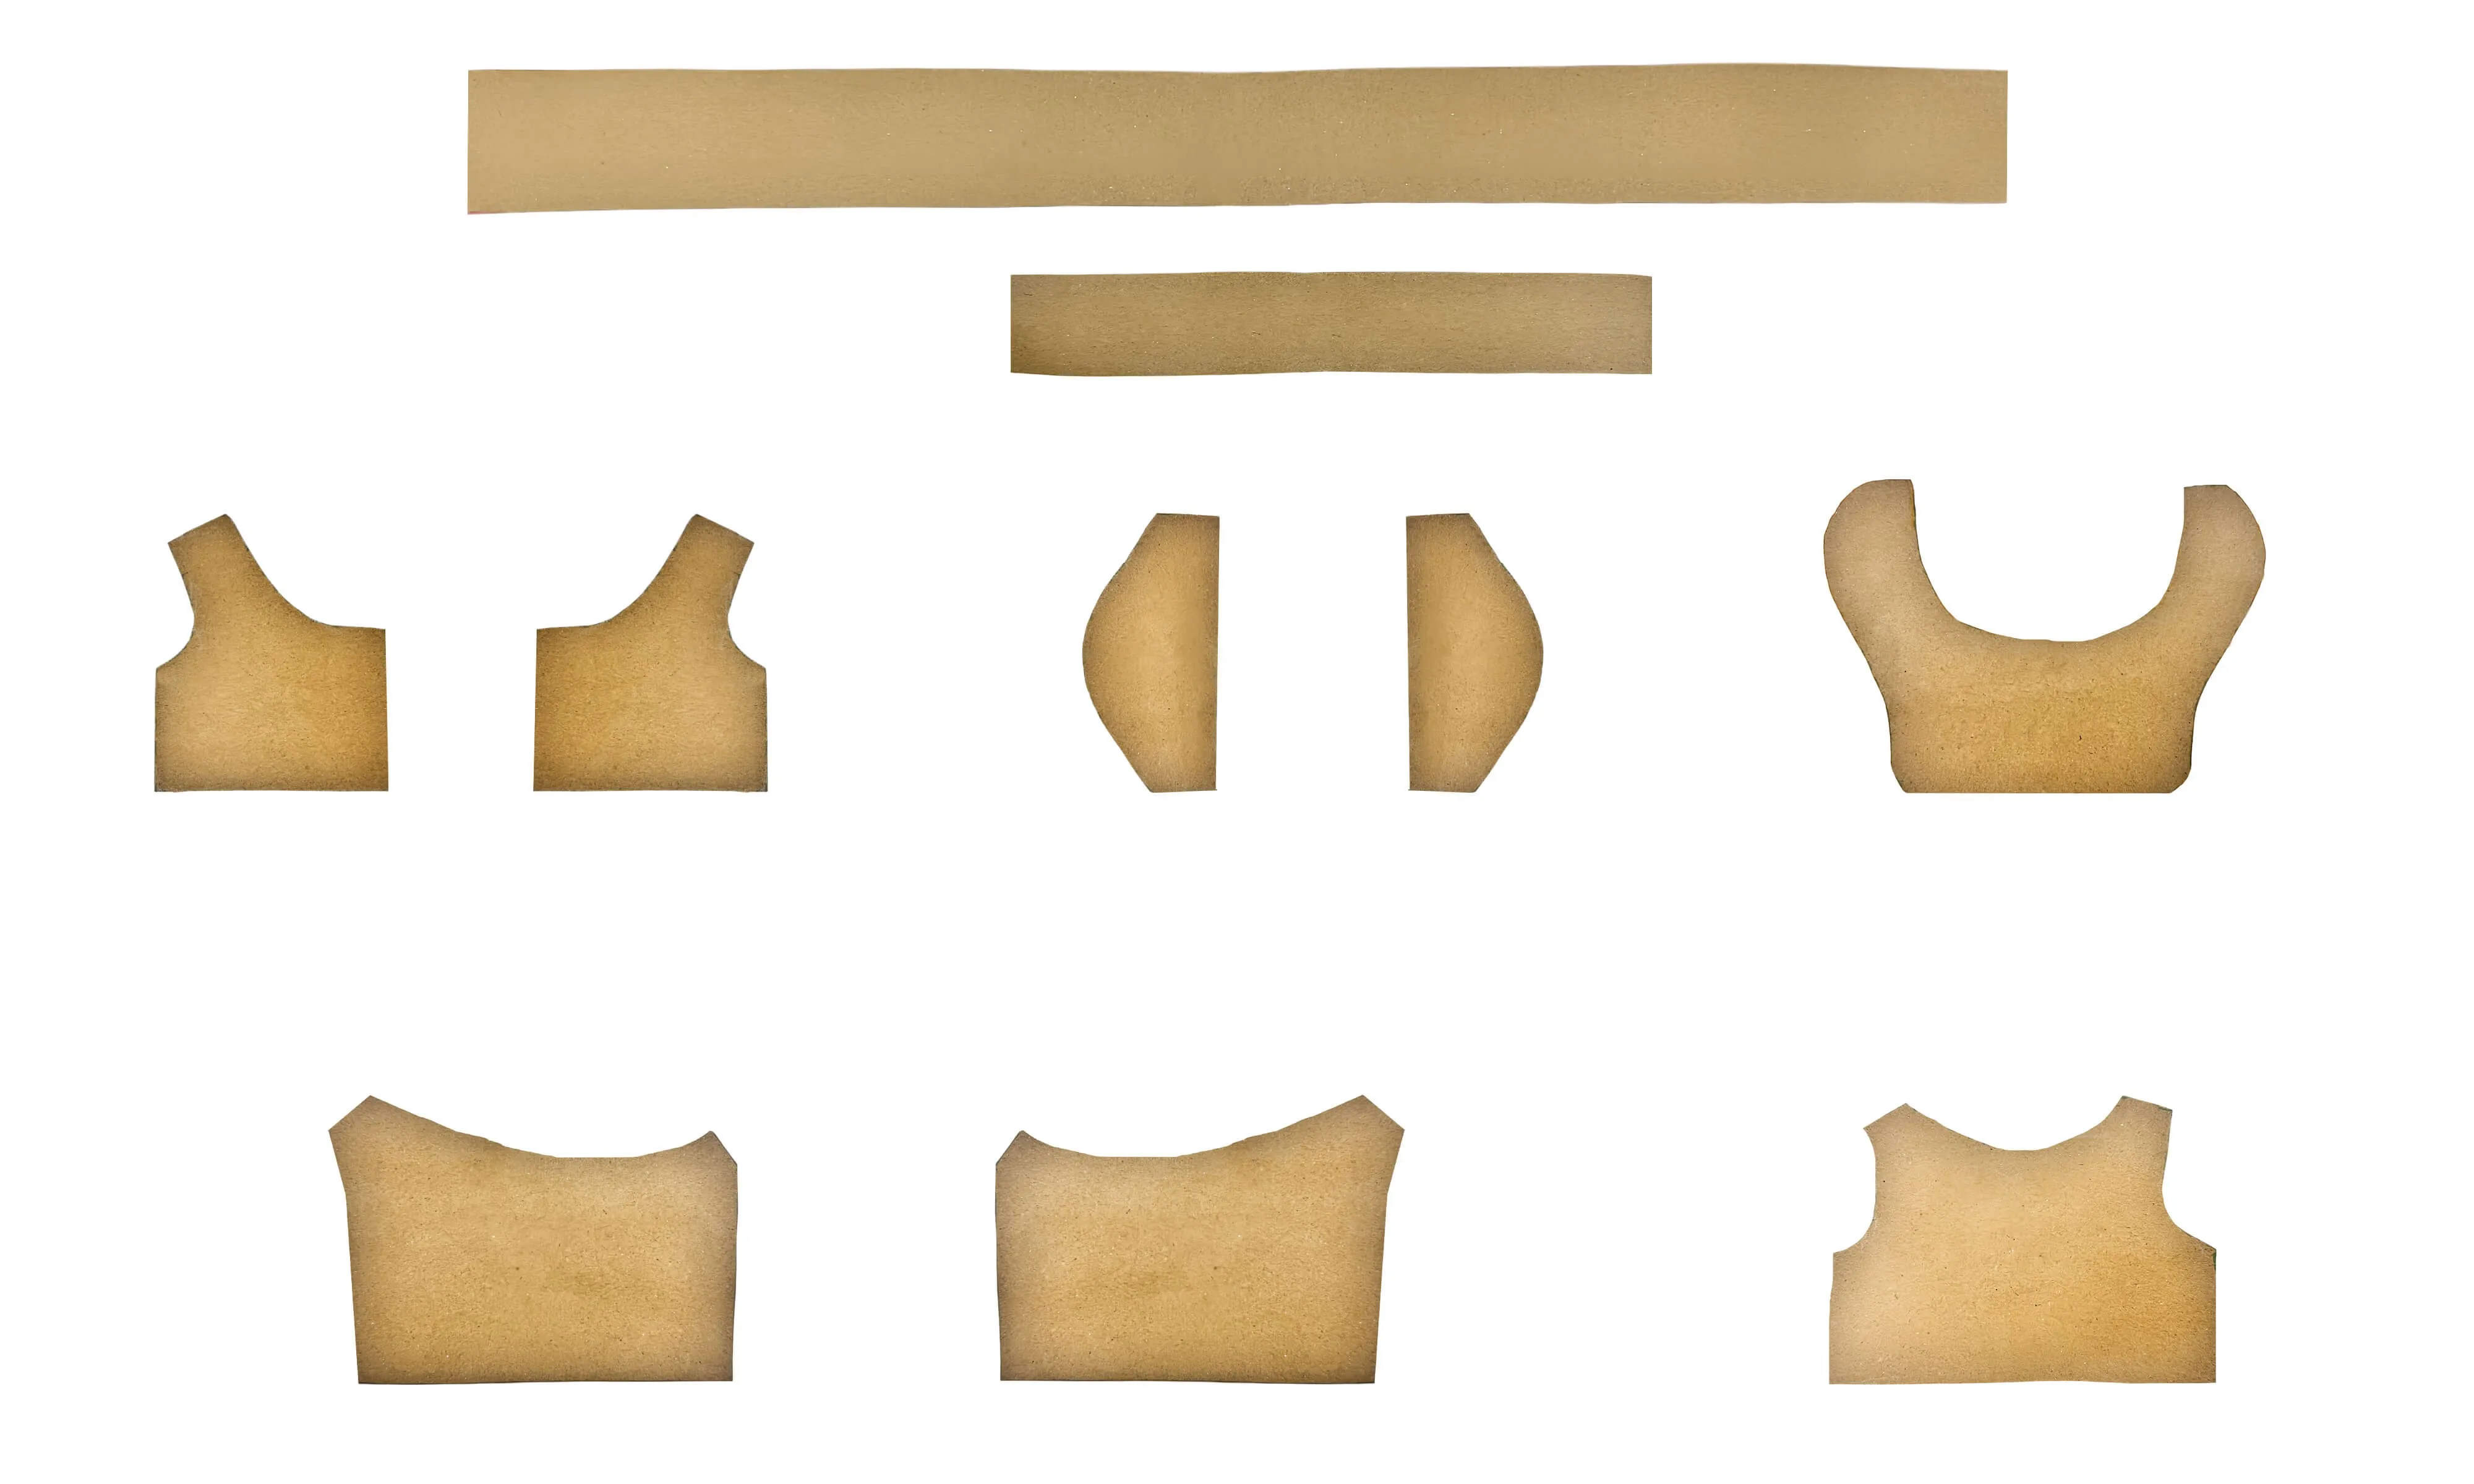
Each template represents a specific part of the garment: the front bodice, back panels, collar, sleeves, skirt panels, and pocket pieces. We label and organize them carefully so they can be reused for future production runs.
Step 4: Tracing Patterns onto Fabric
With templates ready, we lay them onto the fabric and trace around them using a fabric marker. The orange lines you see are water-soluble or heat-erasable — they'll disappear after sewing, leaving no trace on the finished product.
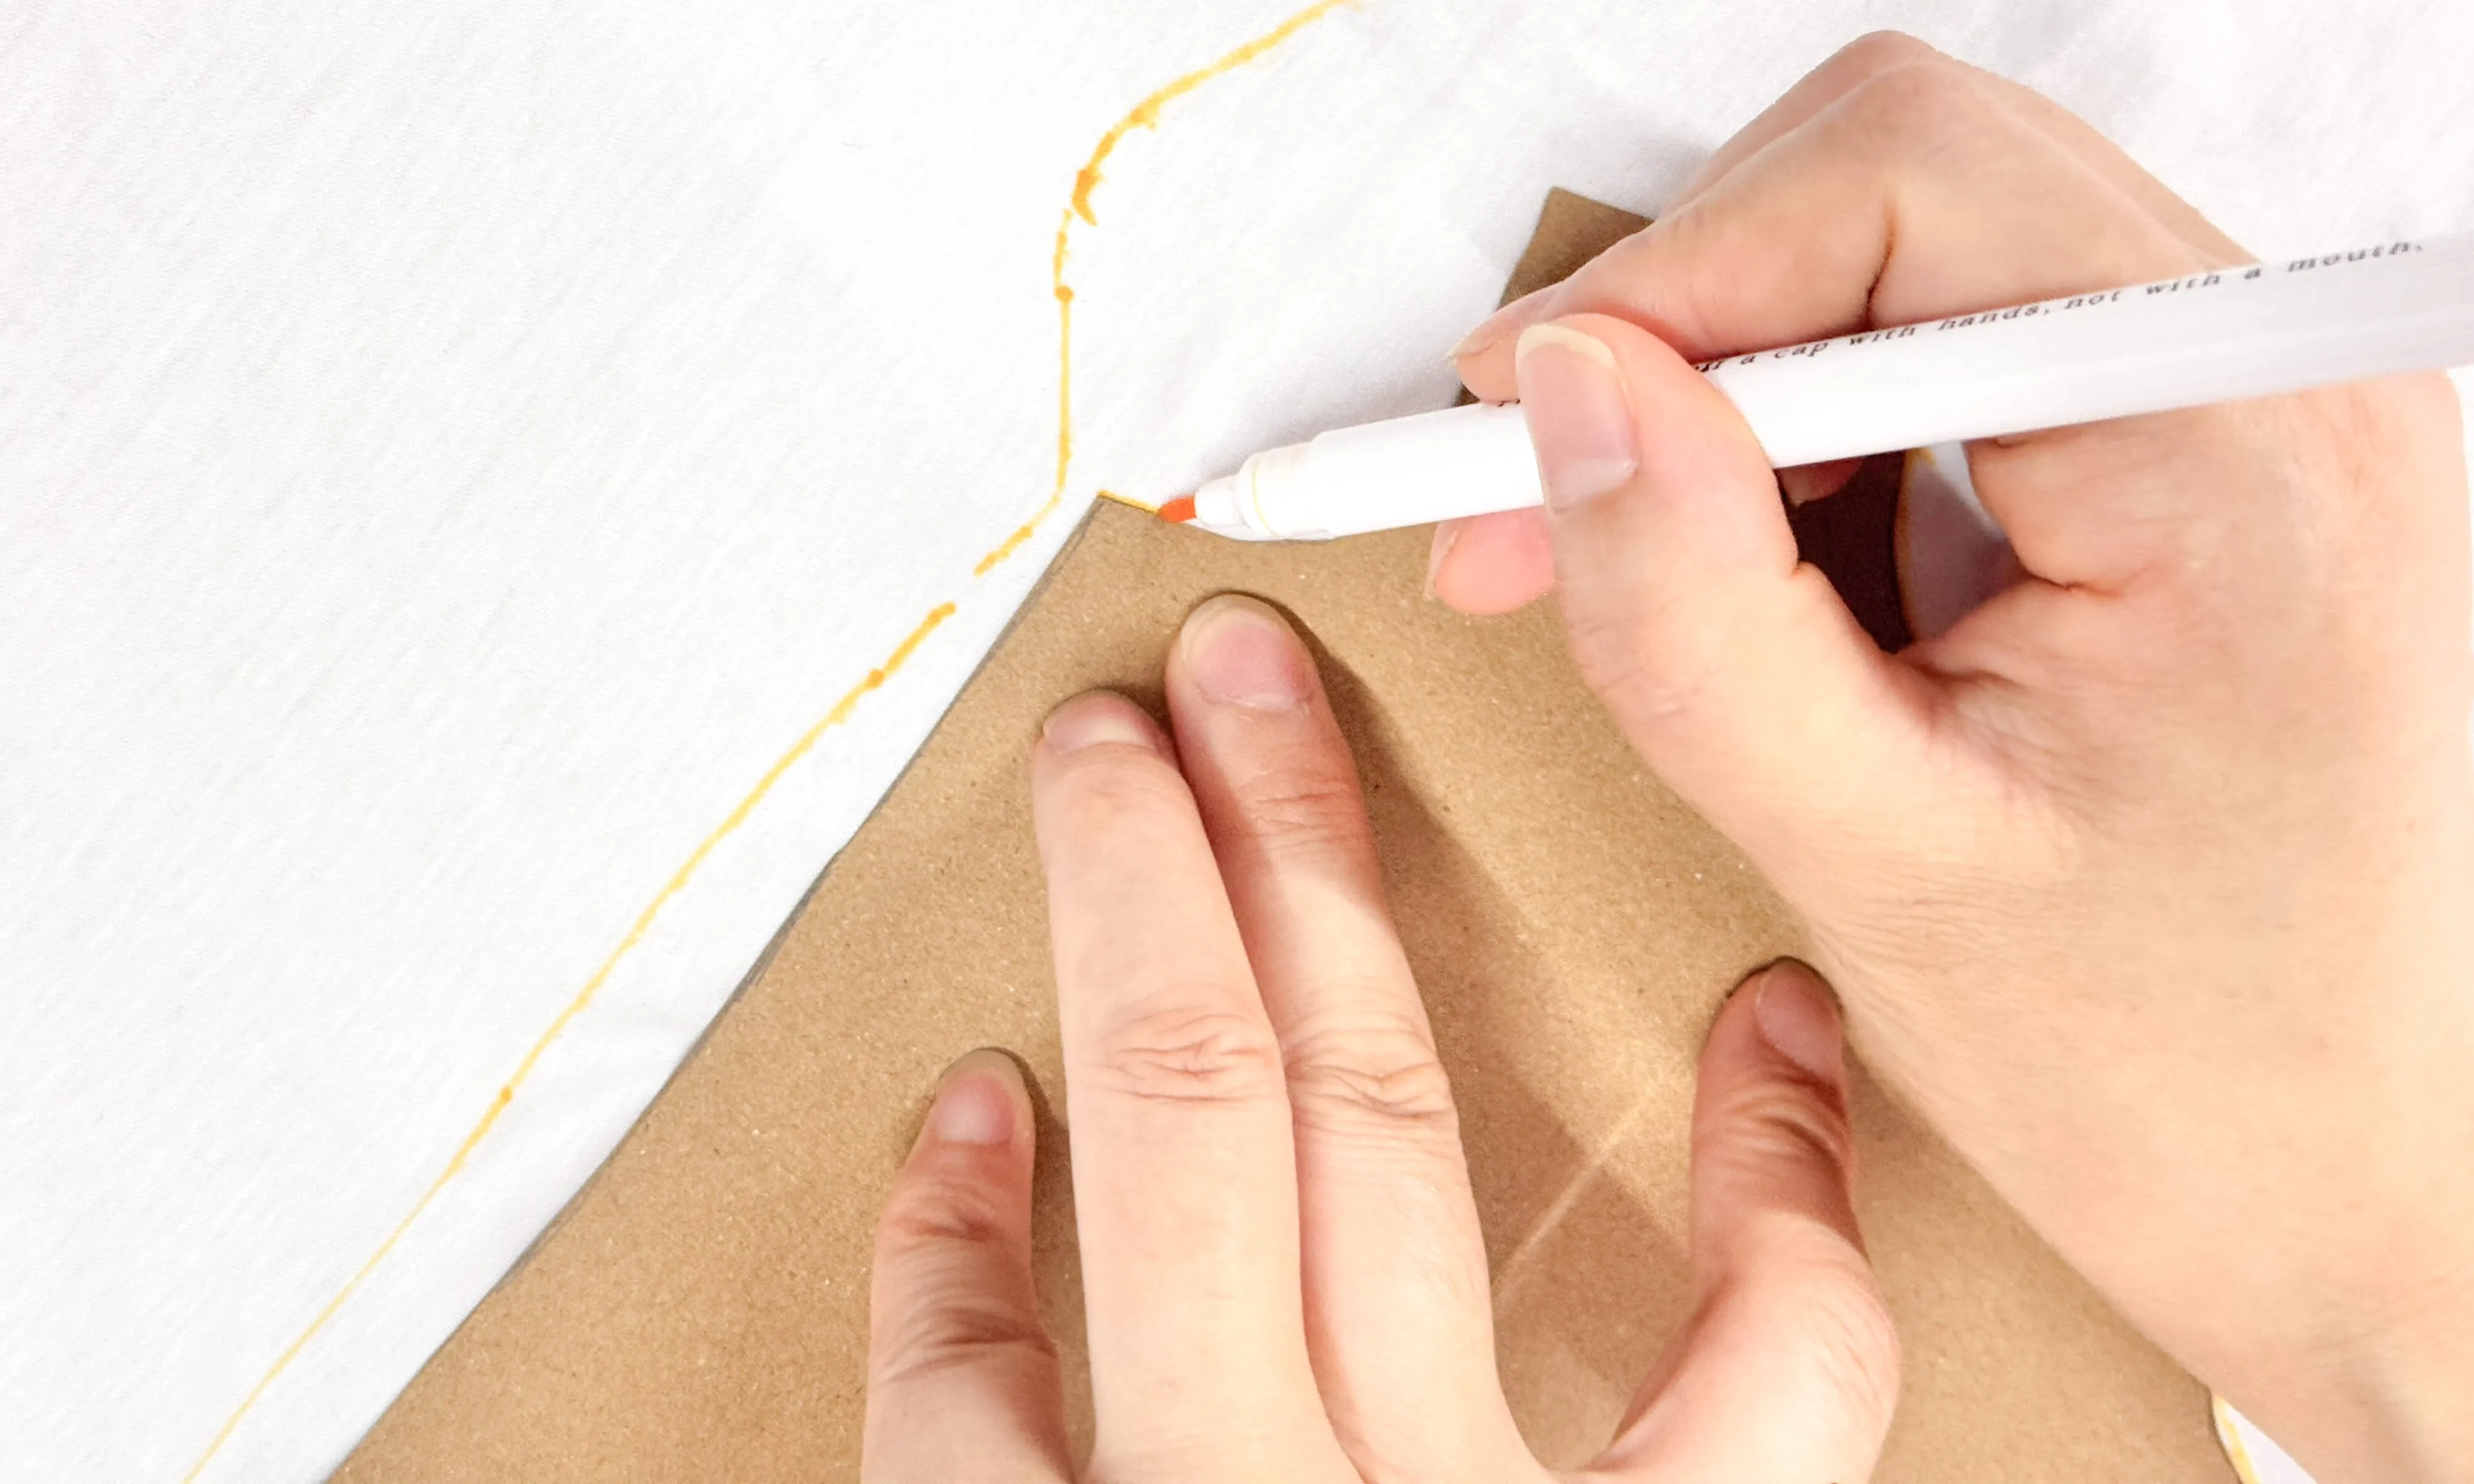
Precision is everything at this stage. The marker must follow the template edge exactly — any wobble means the pieces won't align properly during assembly.
Step 5: Cutting the Fabric
Now comes the satisfying part — cutting. We use professional dressmaking shears to cut along the traced lines, creating each individual fabric piece.
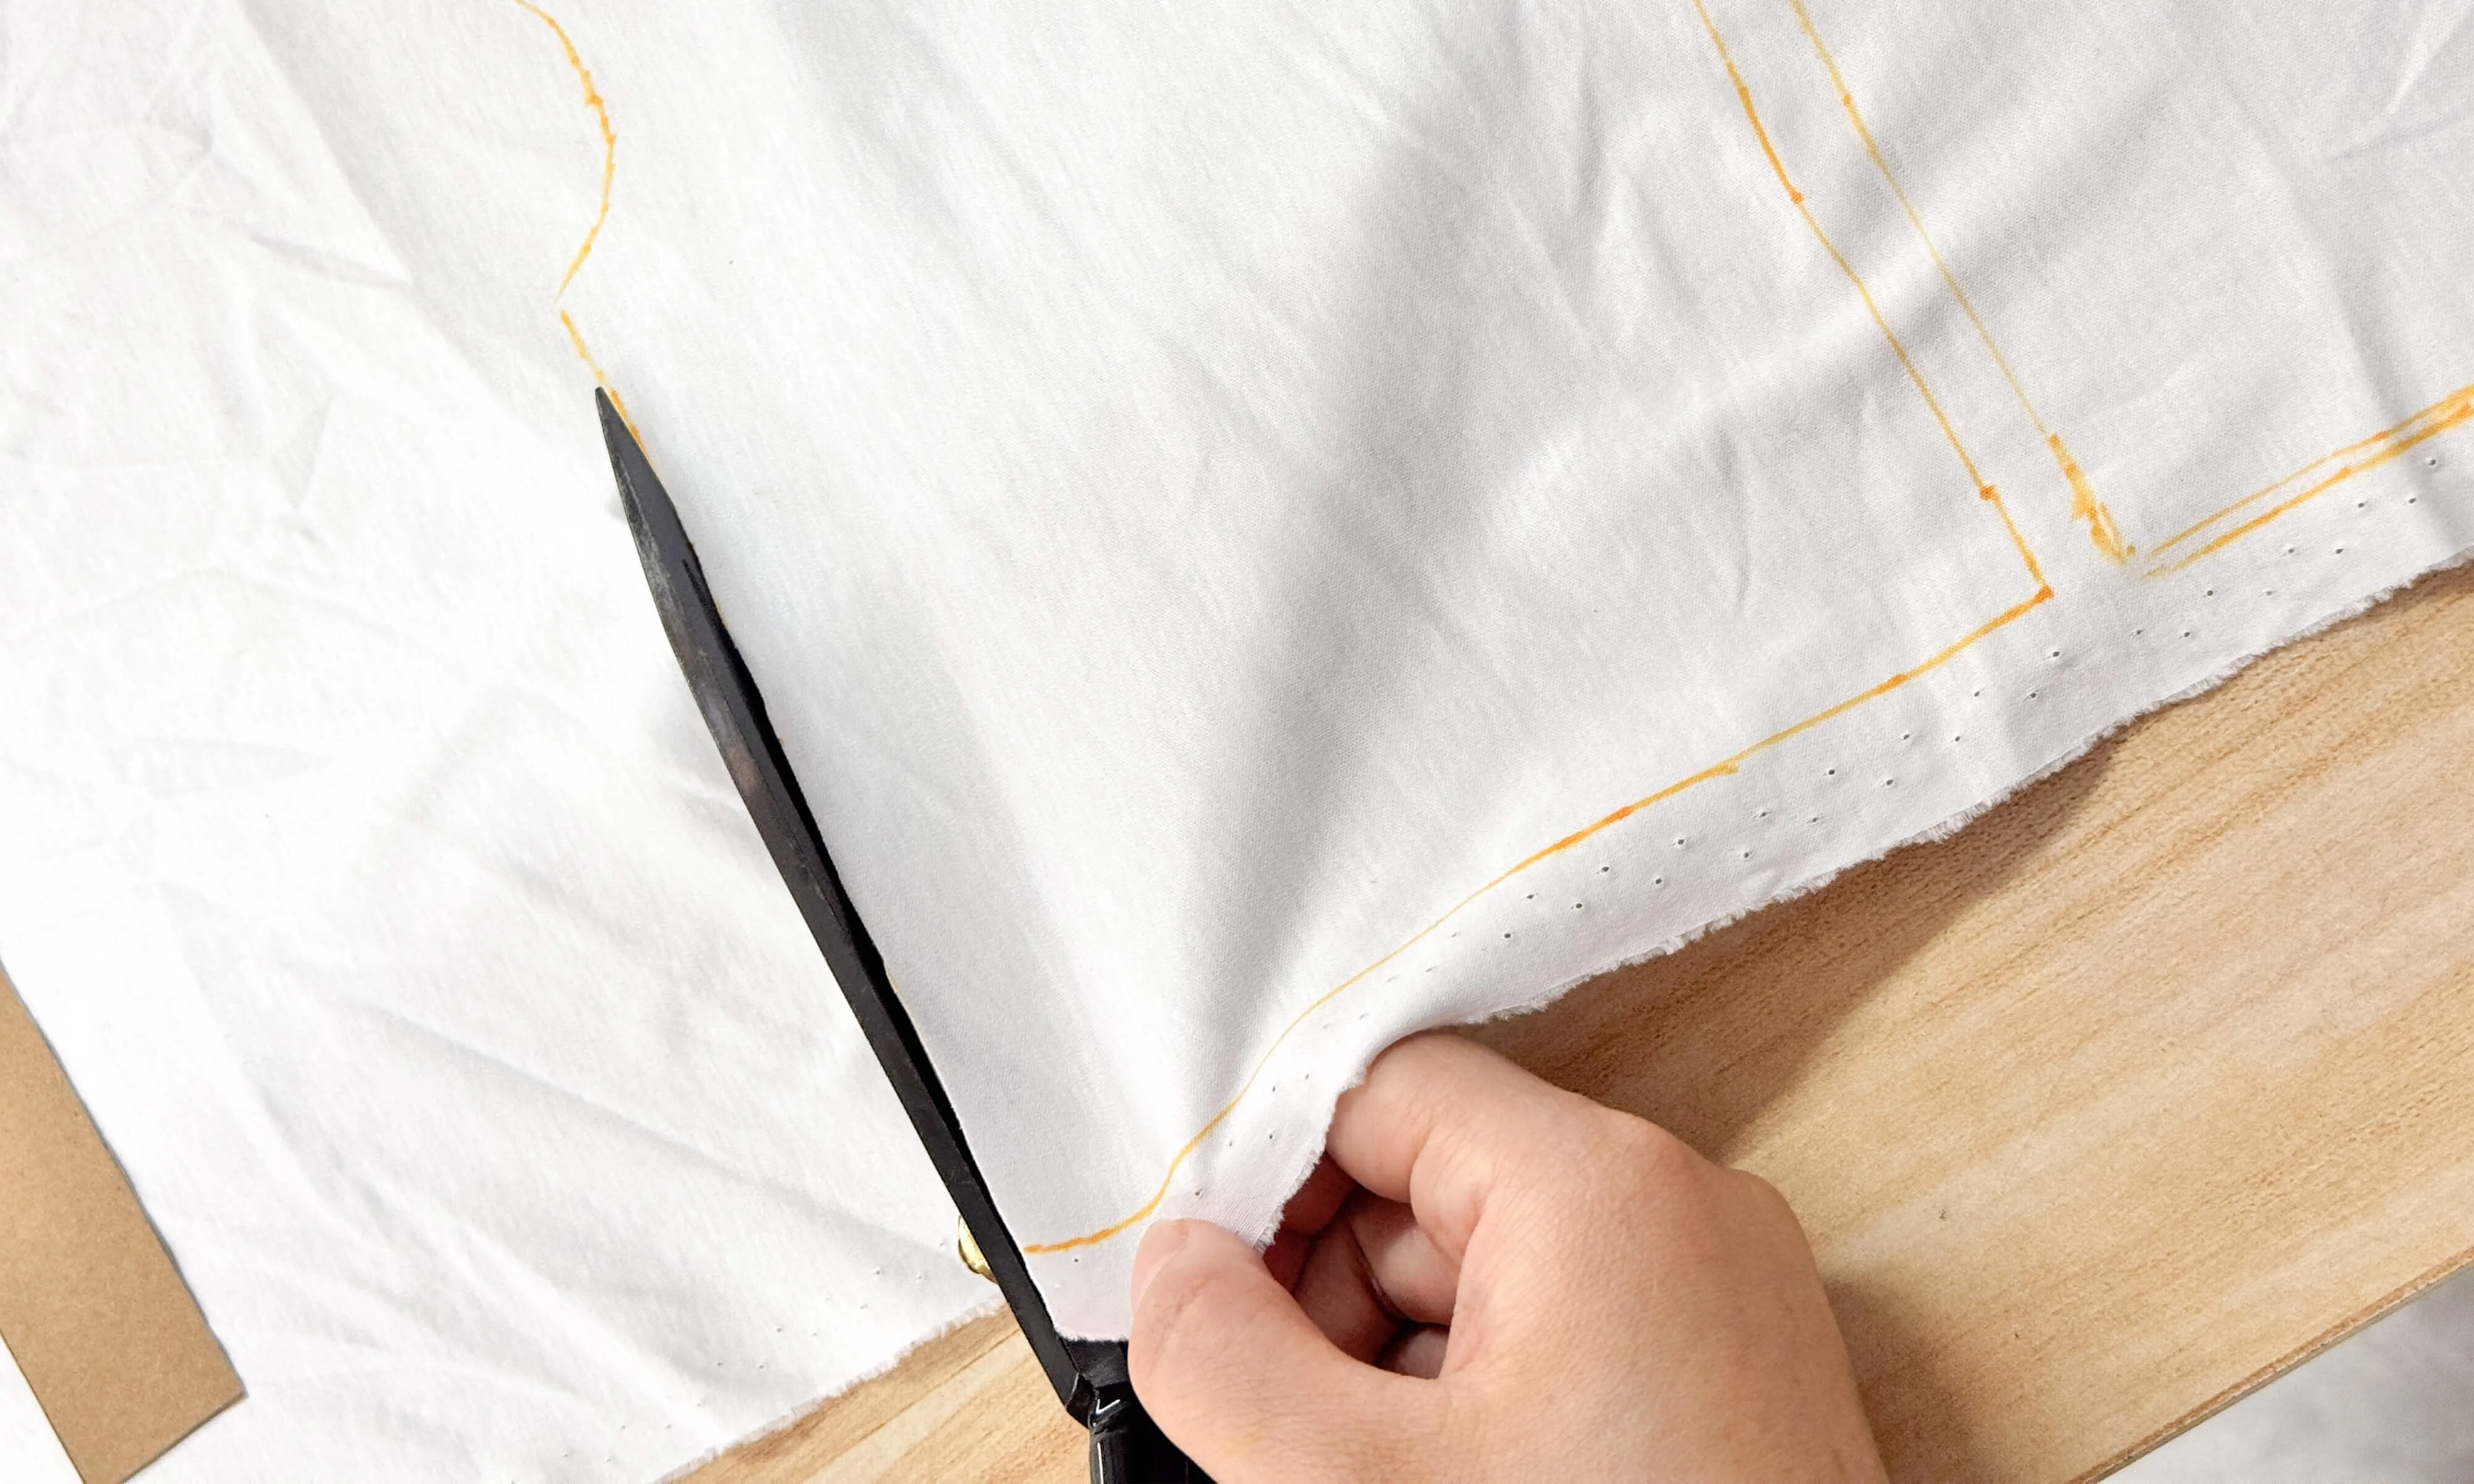
One hand guides the scissors while the other holds the fabric taut, ensuring a clean, straight edge. Rough edges would show through on miniature garments, so every cut must be precise.
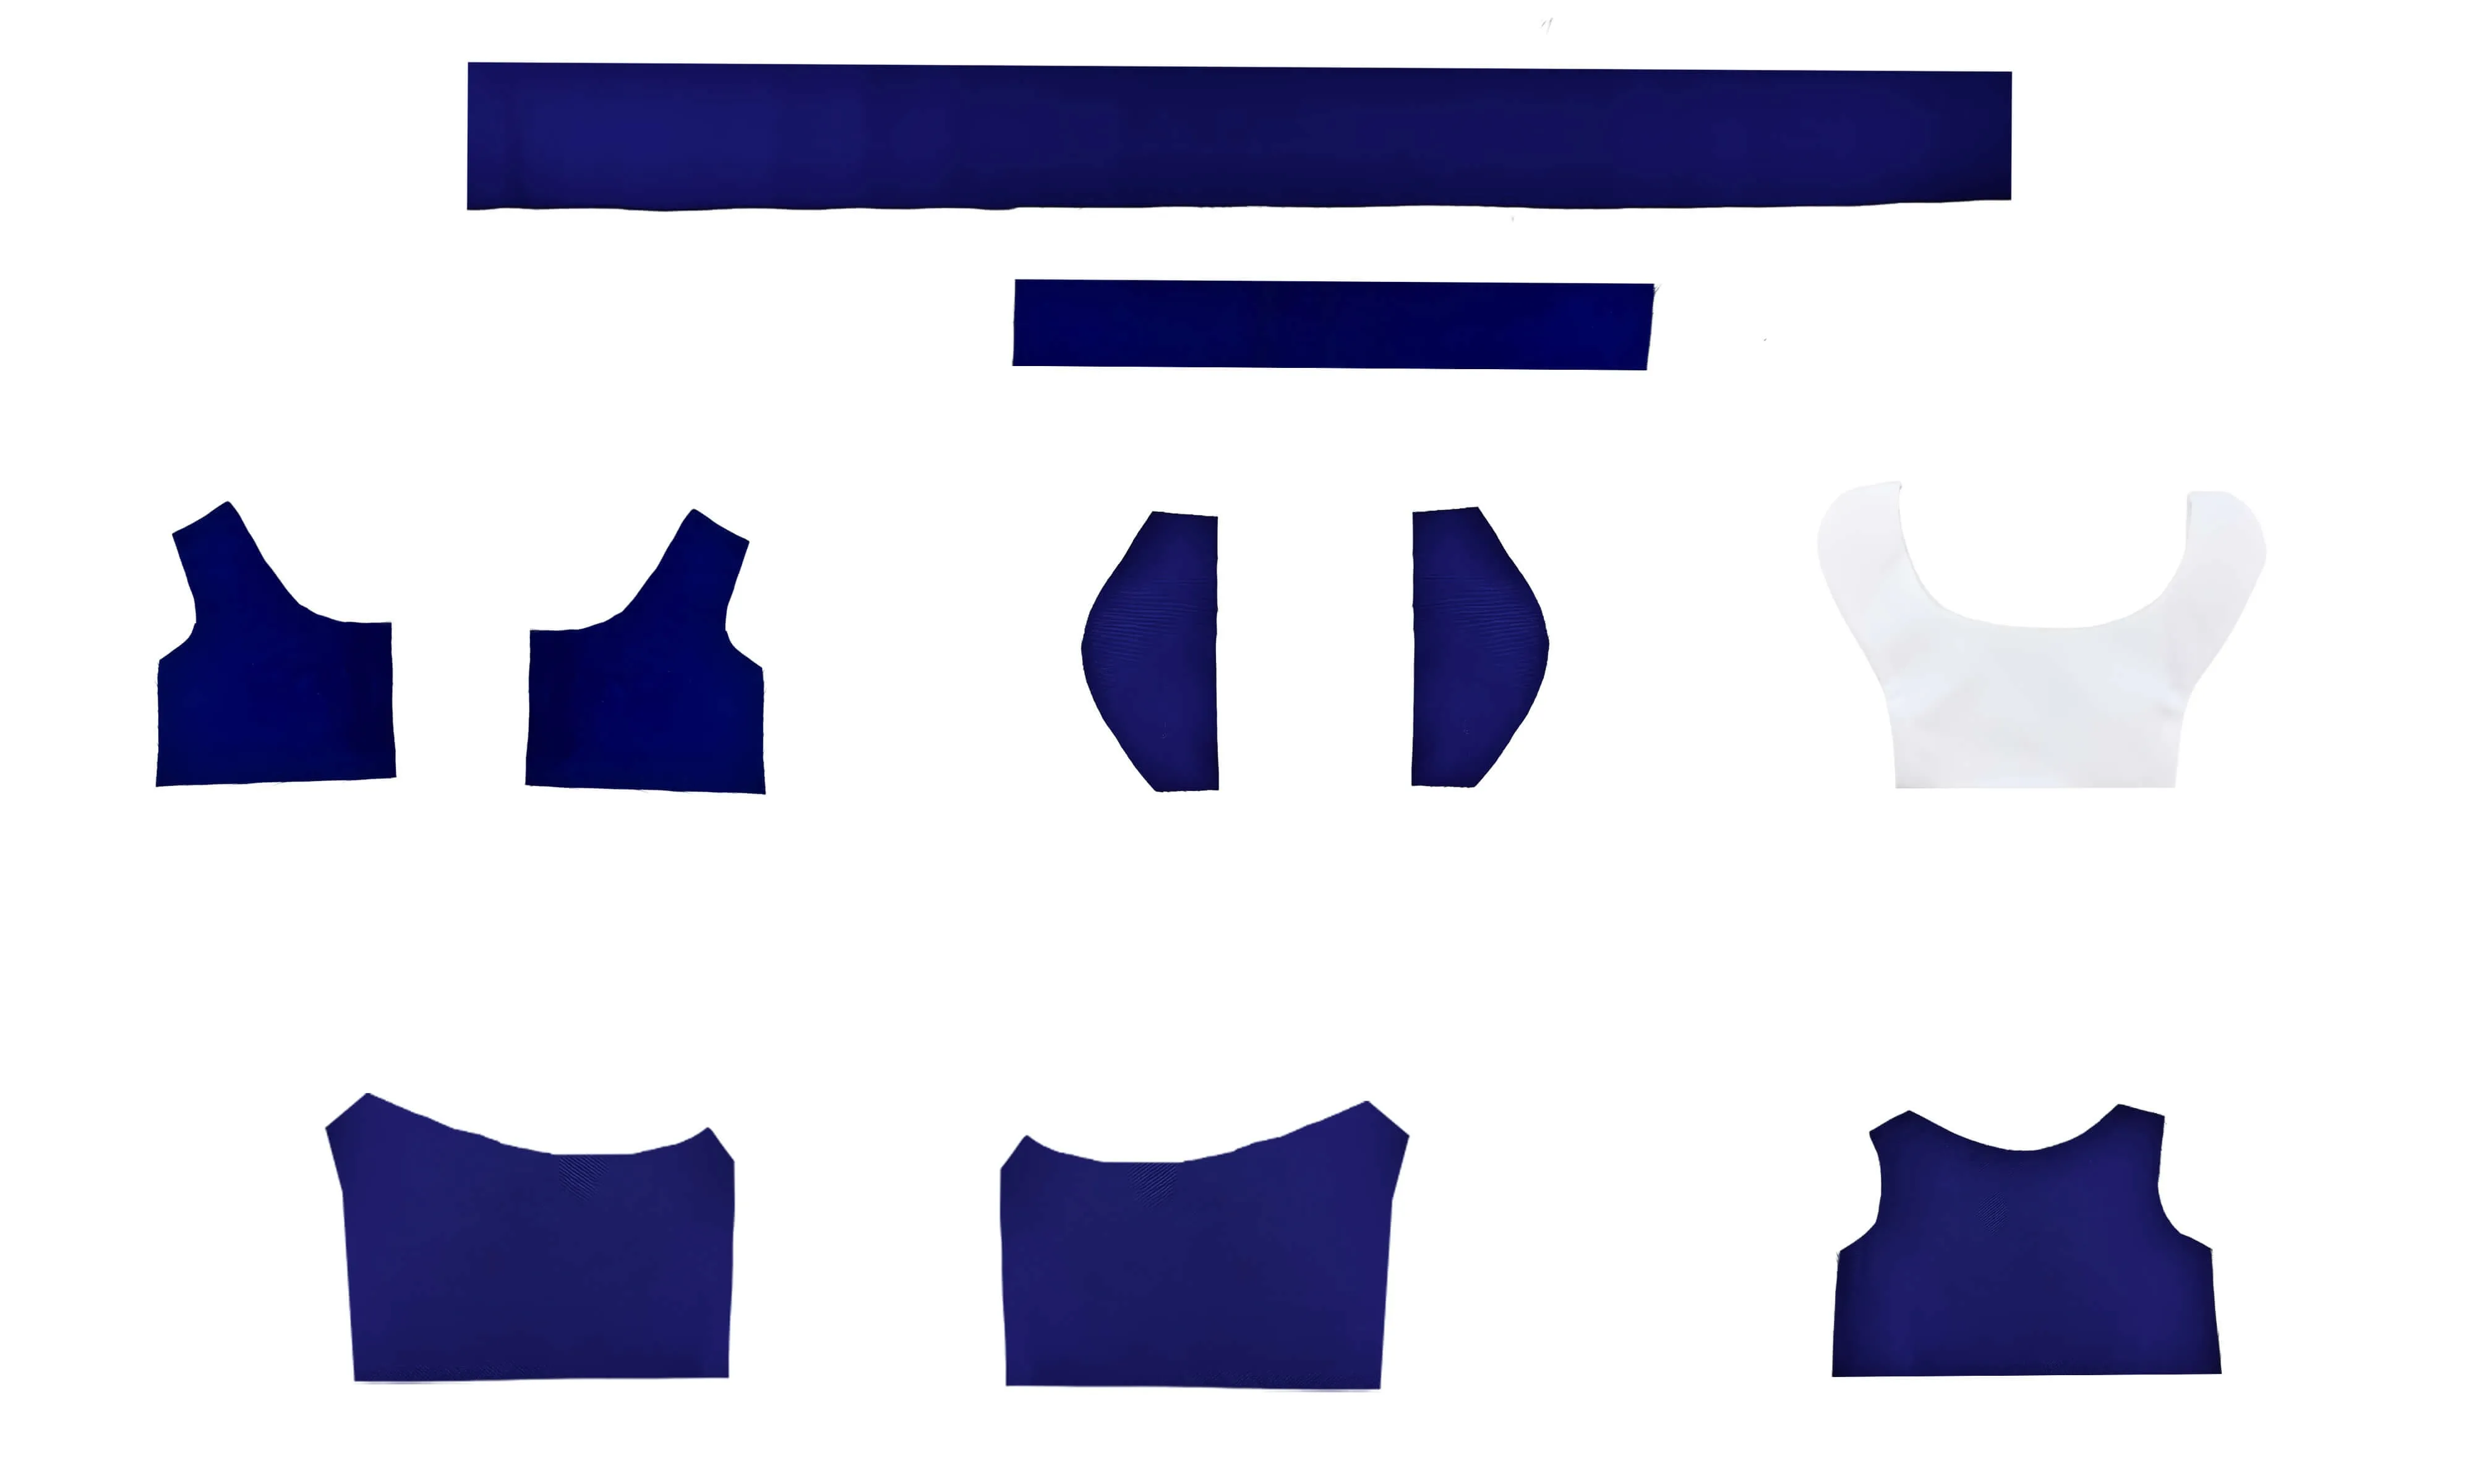
After cutting, we organize all the pieces — navy blue bodice panels, white collar pieces, sleeve cuffs, and skirt panels — laid out and ready for assembly.
Step 6: Sewing & Assembly
This is where the magic happens. Each piece is sewn together on an industrial sewing machine, following the construction plan from the original design.
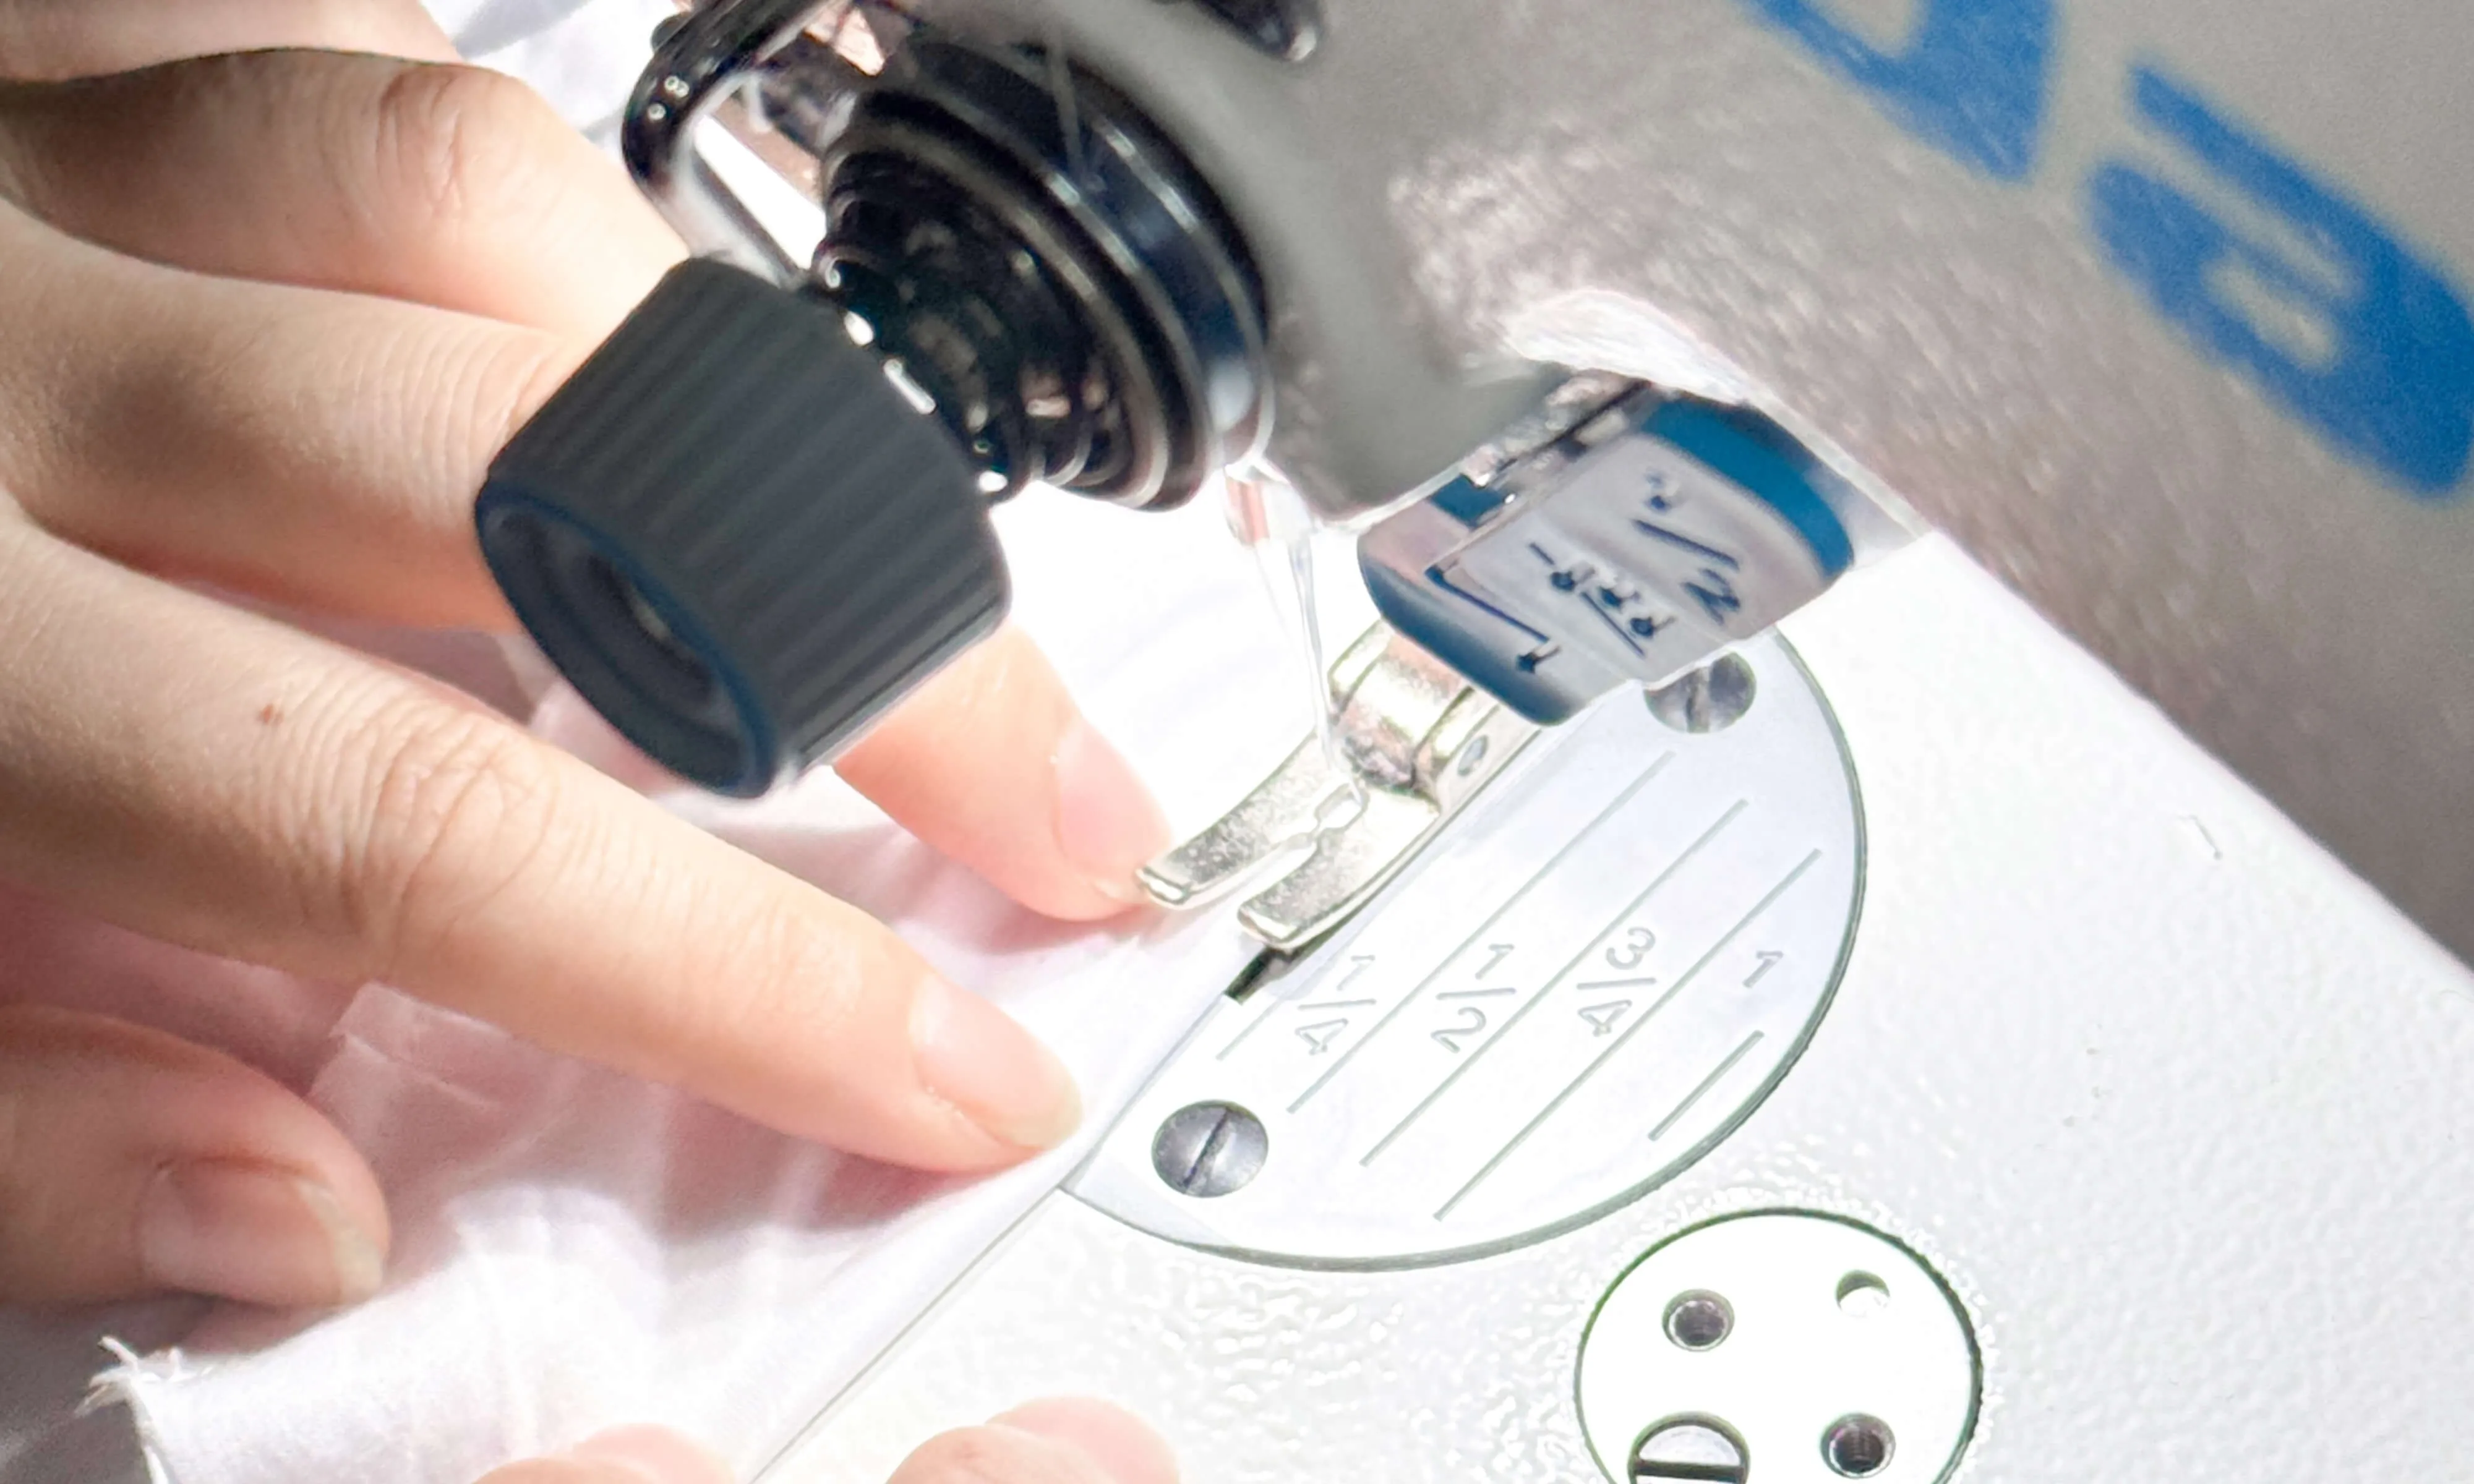
The sewer guides the fabric under the presser foot with expert precision, stitching seams that are often less than 3mm from the edge — a level of accuracy that's challenging even for experienced seamstresses working at this scale.
Step 7: The Completed Outfits
After all the sewing is done, the finished outfits are ready for inspection. Here you can see two variations of our sailor suit:
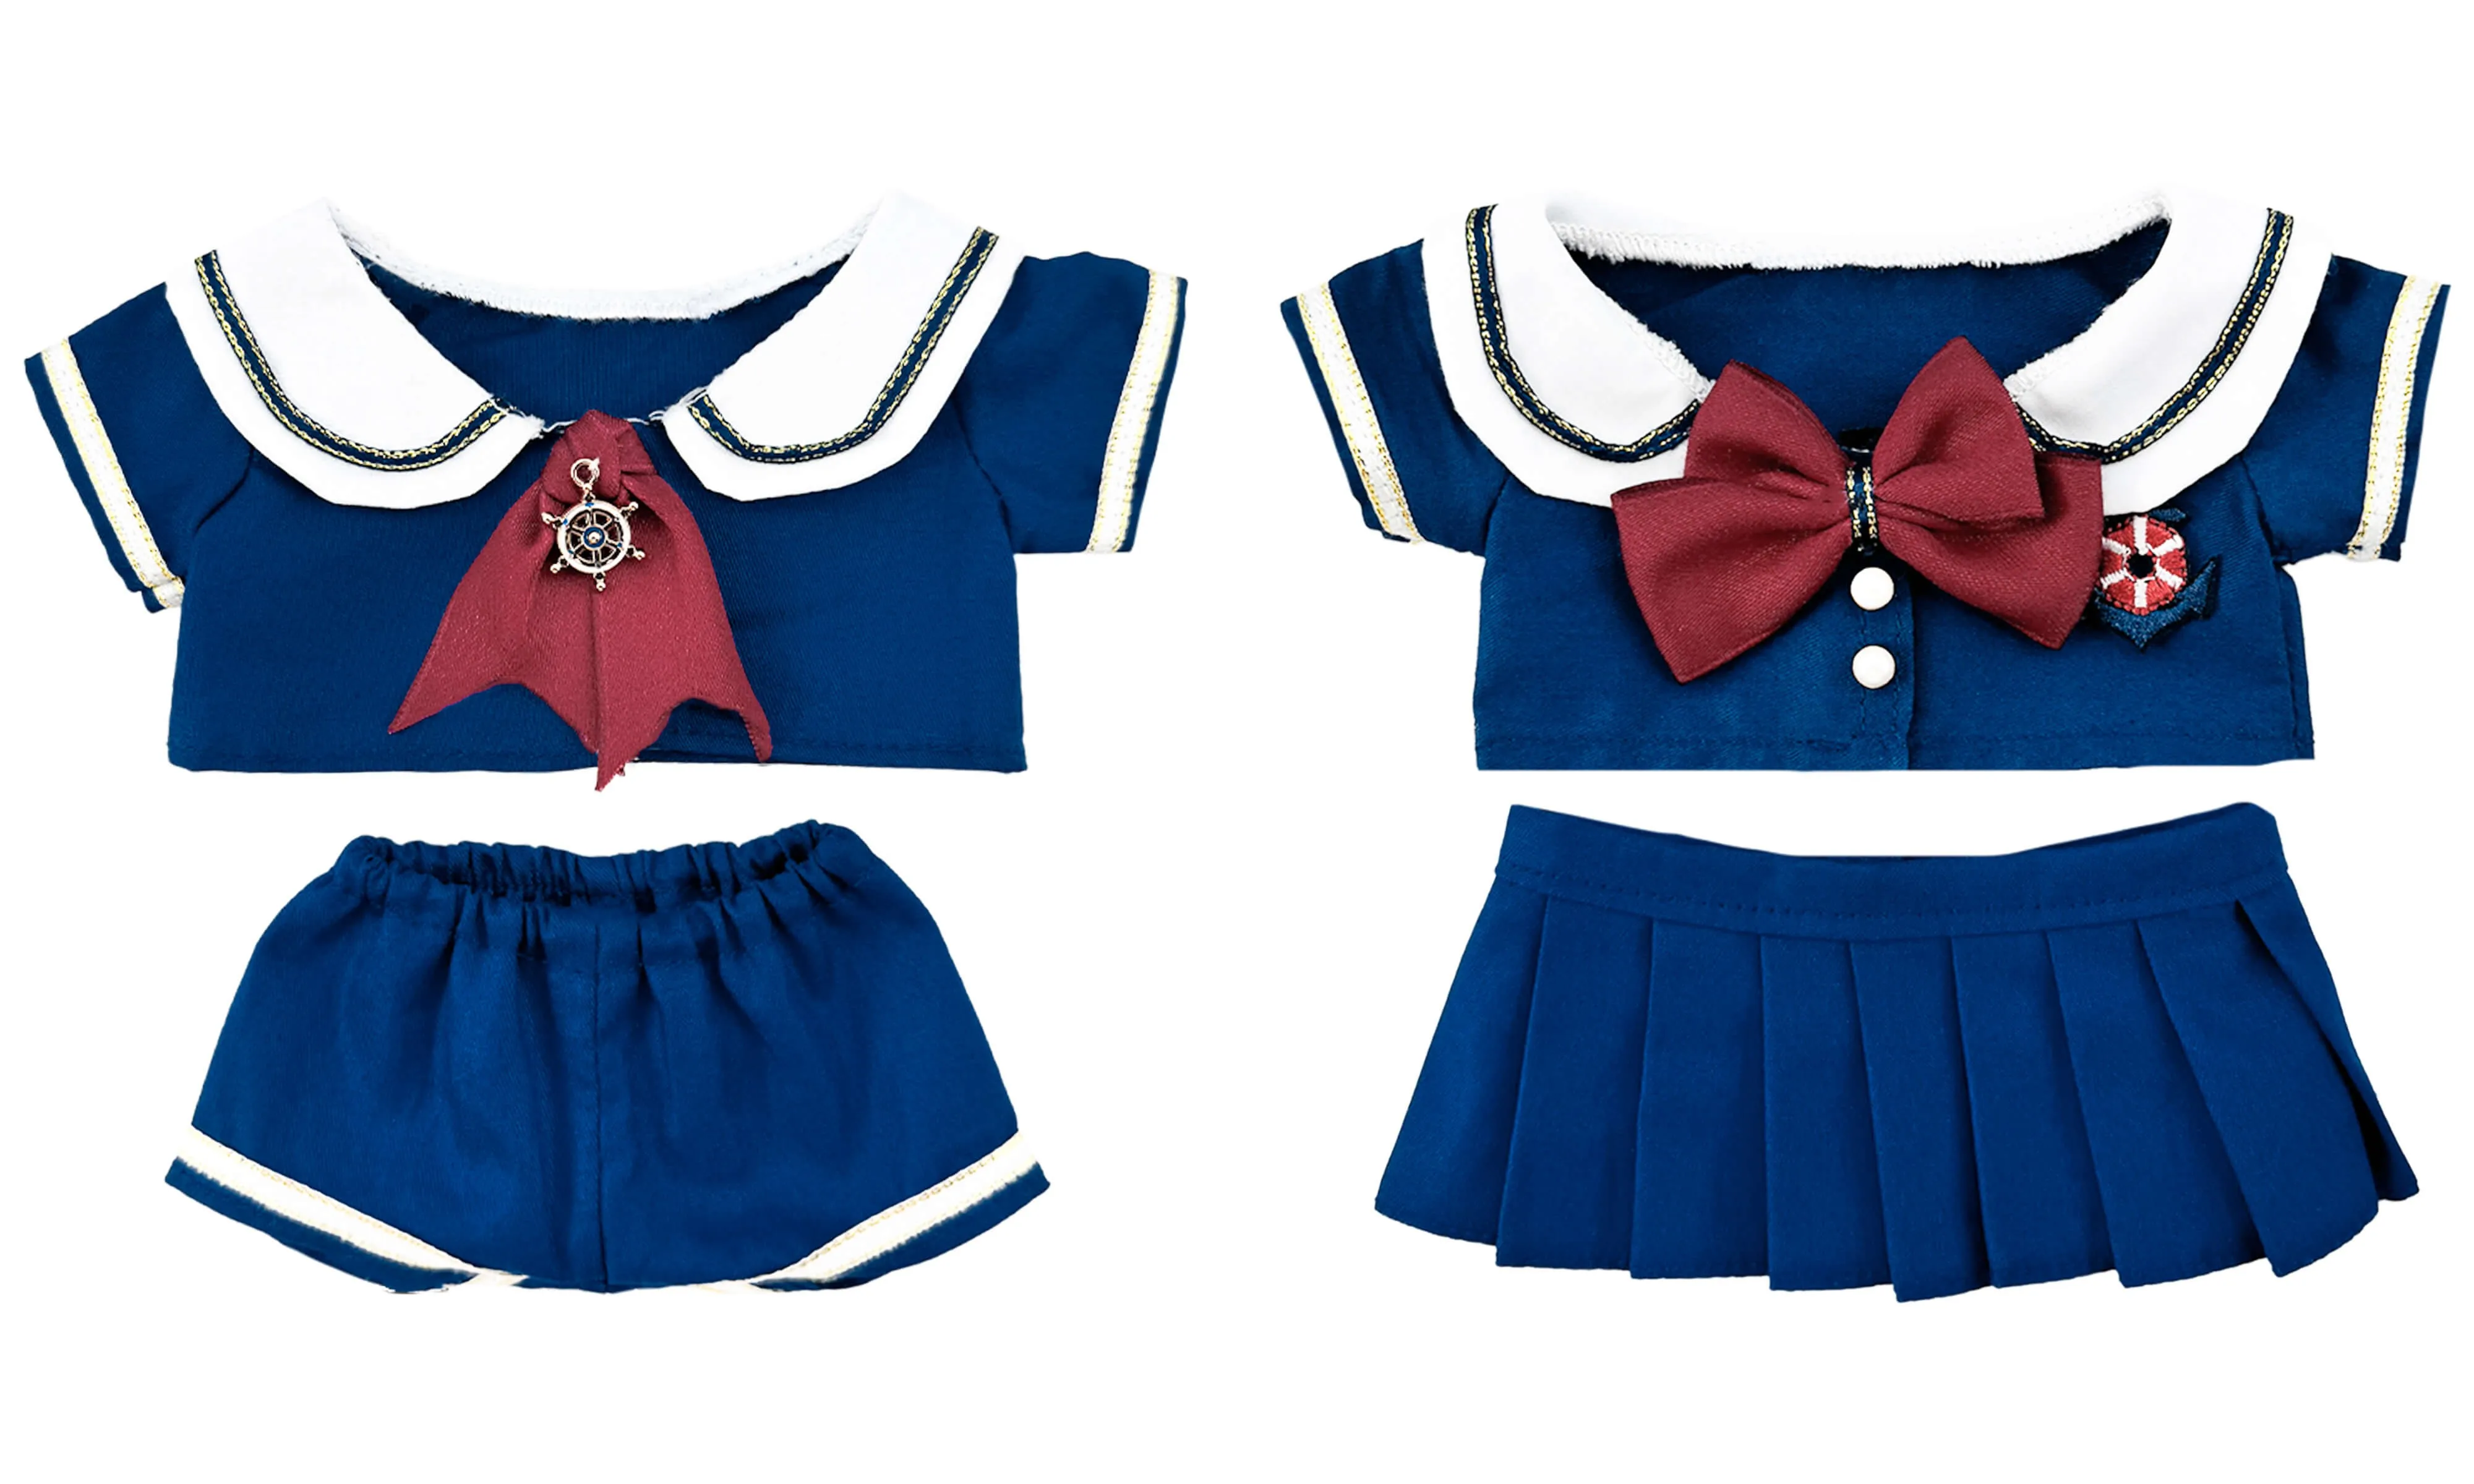
On the left: the shorts version with a red neckerchief and silver ship's wheel charm. On the right: the skirt version with a structured burgundy bow, white buttons, and an embroidered anchor patch on the chest. Both share the same navy blue fabric, white sailor collar with gold trim, and nautical detailing.
Step 8: The Final Look
The best part of the process — seeing the finished outfits on the dolls! Here are two of our 20cm plush dolls modeling the sailor suits:
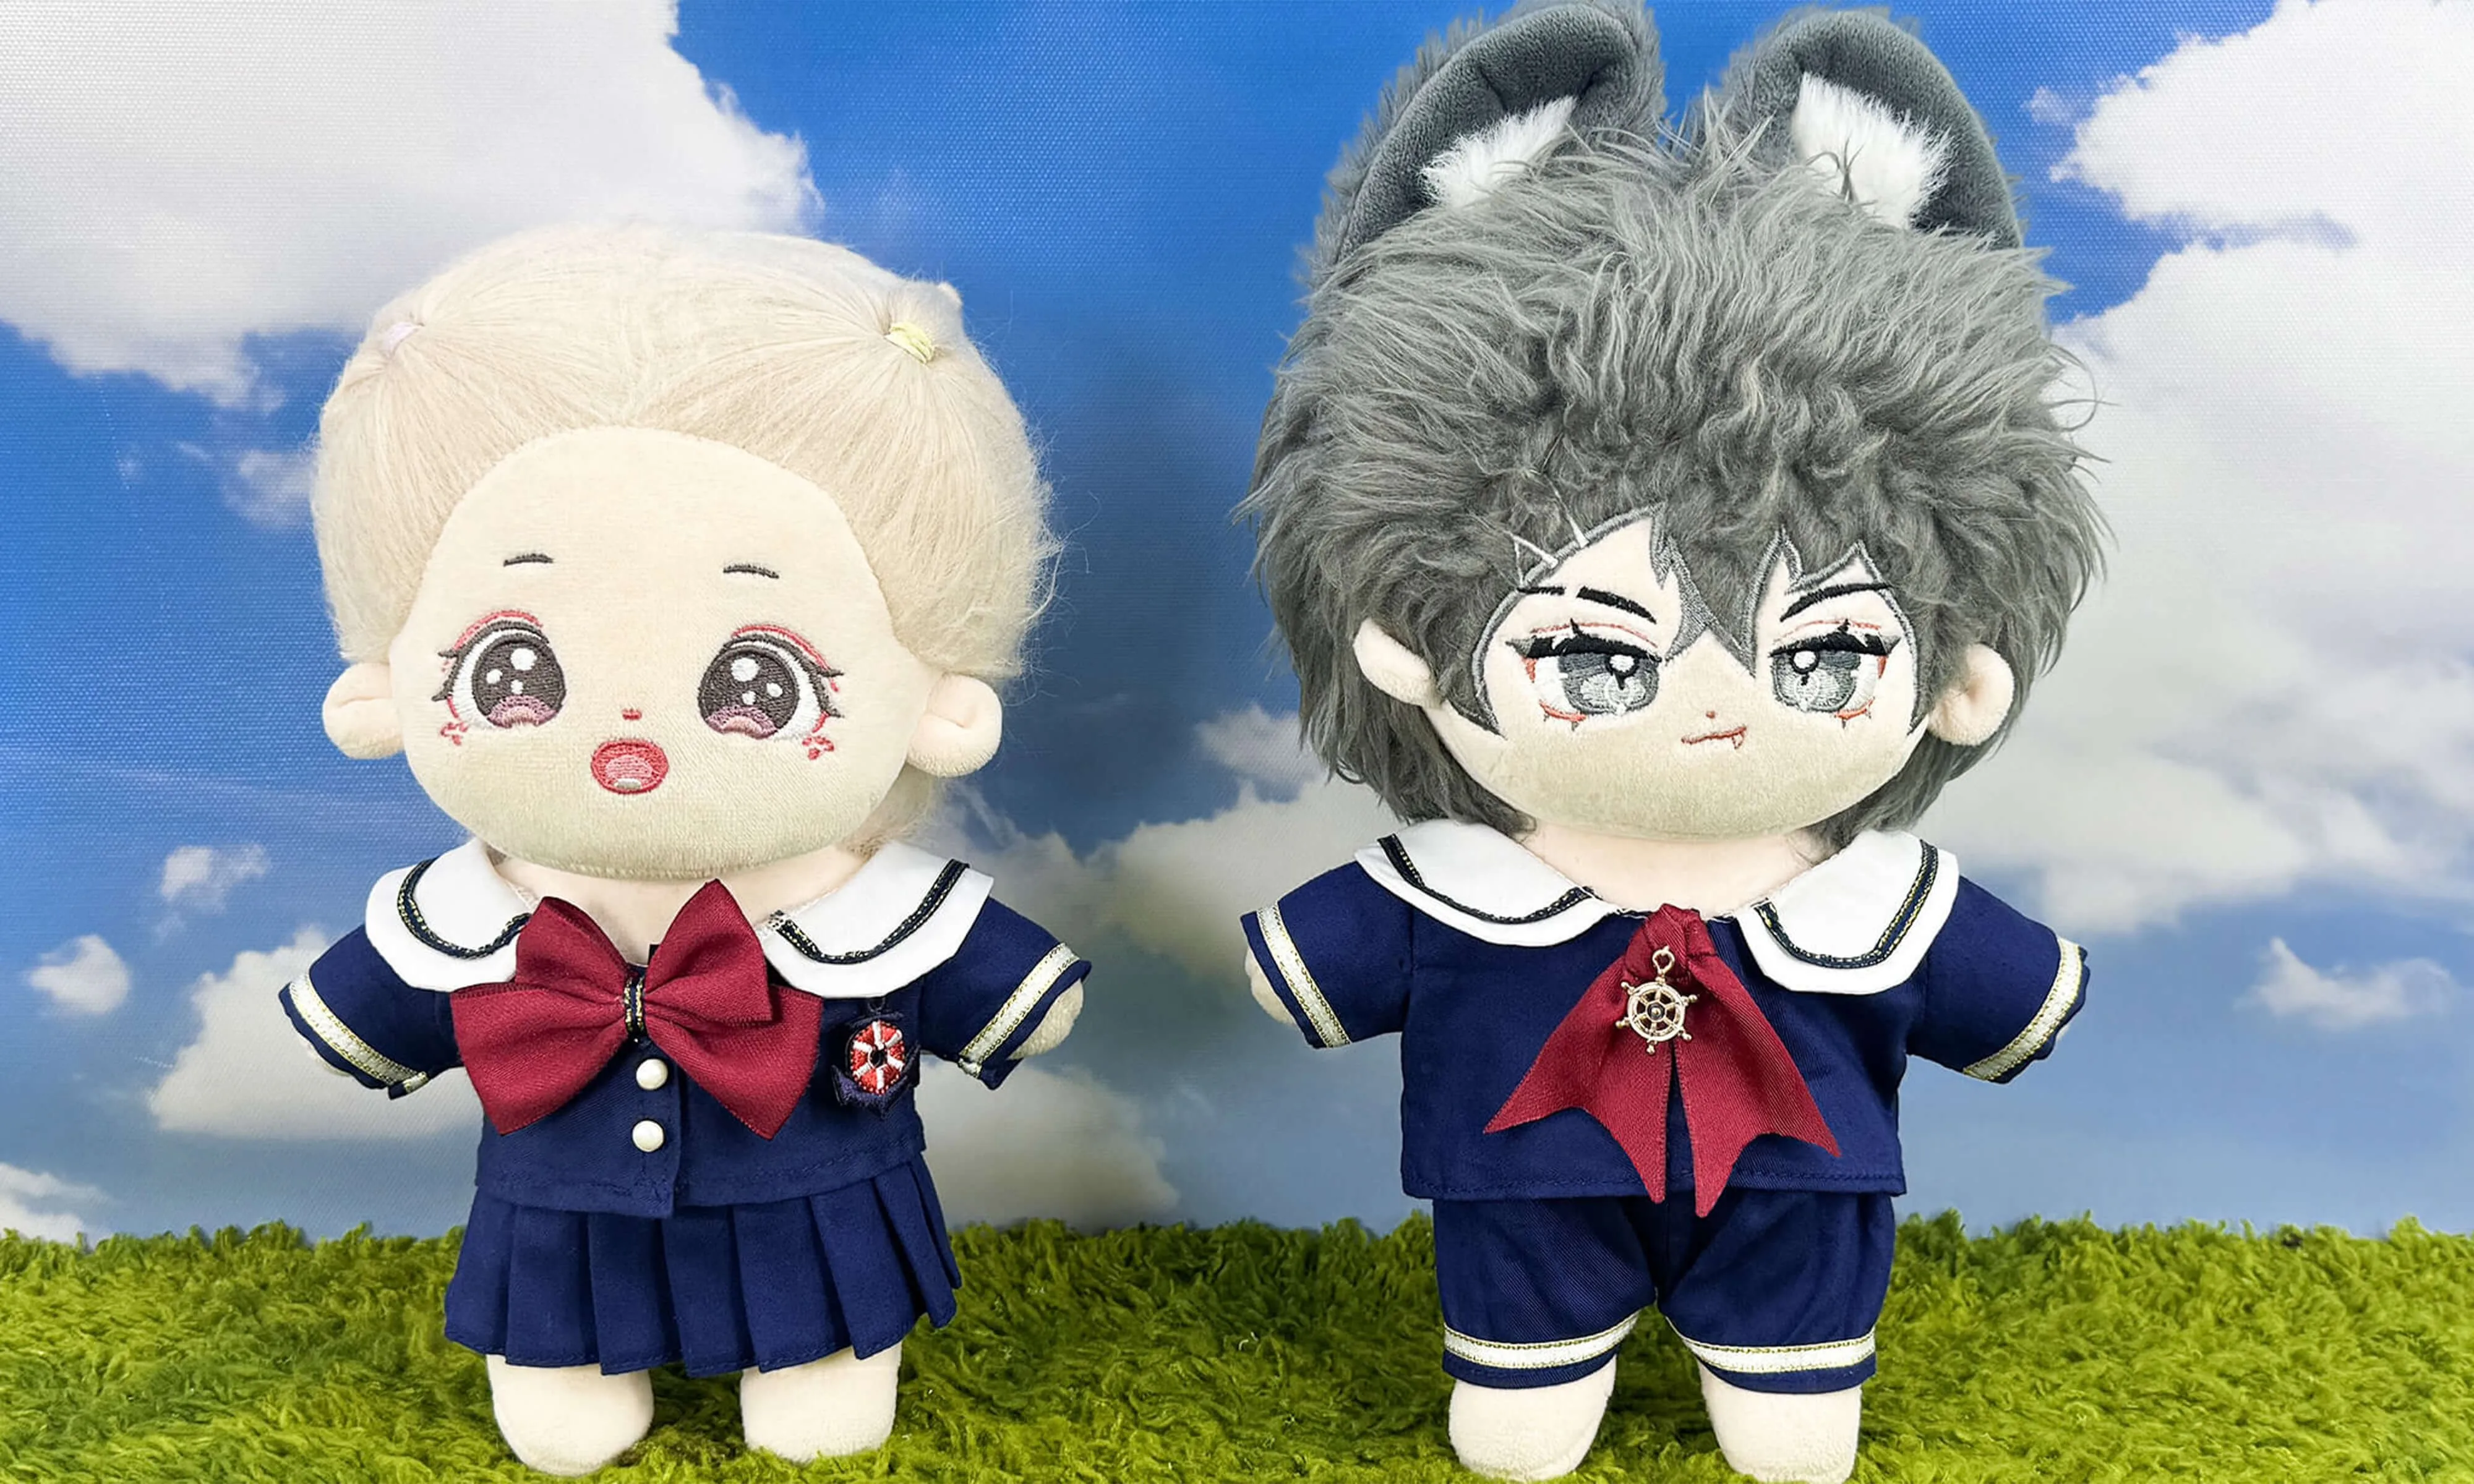
The blonde doll on the left wears the skirt version with its bright red bow, while the grey-haired wolf doll on the right rocks the shorts version with the ship's wheel accessory. Together, they showcase how versatile these outfits are — same design language, two distinct looks.
Craftsmanship in Miniature
What makes doll clothing special isn't just the size — it's the attention to detail. Every seam, every trim line, every tiny button is chosen and placed with intention. The sailor collar must drape just right. The pleats must be evenly spaced. The bow must sit centered and proportional.
When you hold one of our outfits in your hands, you're holding the result of this entire process — hours of design, measuring, cutting, and sewing, all for a garment that's just 8 inches tall.
Get Yours
Ready to dress up your 20cm plush doll? The Dark Blue Sailor Suit featured in this article is available now:
Shop the Dark Blue Sailor Suit →
Available in multiple styles and color variations. Fast worldwide shipping from niannyyhouse.