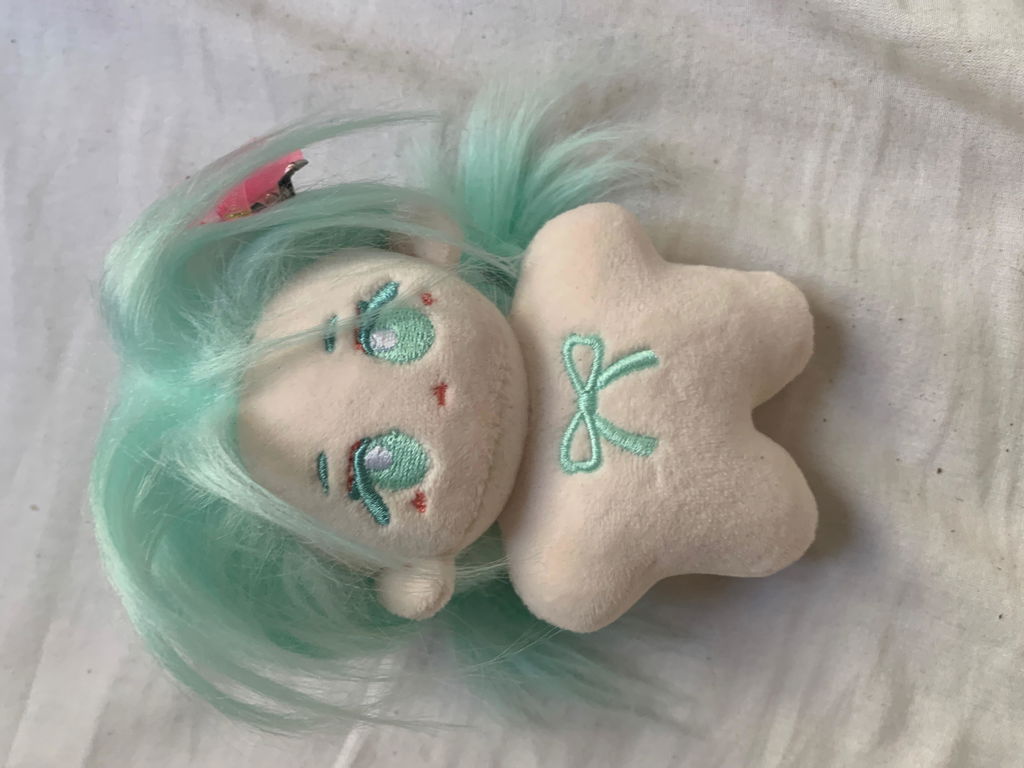
Doll Photography Guide: How to Take Instagram-Worthy Doll Photos
Scroll through Instagram or Pinterest and you will see them: perfectly lit, beautifully styled doll photos that look like they belong in a fashion magazine. But here is the secret: most of those photos were taken with a smartphone, not a professional camera. With the right techniques, you can take stunning doll photos that get likes, shares, and followers. At niannyyhouse, we have seen thousands of customer photos, and in this guide, we share the techniques that separate amateur snapshots from scroll-stopping content.
1. Lighting: The Foundation of Great Photos
Lighting is the single most important factor in doll photography. Get this right, and everything else becomes easier.
Natural Window Light
Set up near a large window with indirect sunlight. The soft, diffused light flatters plush textures and brings out fabric details. Avoid direct sunlight, which creates harsh shadows and washes out colors. The best time for natural light photography is between 10 AM and 2 PM on a cloudy day, or during golden hour (1 hour after sunrise or before sunset).
Ring Light for Consistent Results
A 10-inch ring light ($15-25 on Amazon) provides consistent, even lighting regardless of weather or time. Position it 12-18 inches from your doll at a 45-degree angle. The ring light creates a beautiful catchlight in the doll's eyes and eliminates harsh shadows.
Avoid Overhead Lighting
Ceiling lights create unflattering shadows under the doll's chin and arms. Always use side lighting or front lighting instead.
2. Background: Keep It Simple
The background should enhance, not compete with, your doll. Here are three reliable background options:
Solid Color Poster Board
A $2 piece of poster board in white, cream, or light gray creates a clean, professional studio look. Curve the board gently so it forms a seamless backdrop with no visible corner line.
Fabric Backdrop
A piece of cotton or linen fabric draped behind the doll adds texture without distraction. Choose neutral colors that complement the doll's outfit. Avoid patterned fabrics that compete with the doll's clothing.
Natural Outdoor Backgrounds
For outdoor shots, look for simple backgrounds: a brick wall, a wooden fence, or a hedge. Blur the background using portrait mode on your phone to make the doll stand out.
3. Camera Settings for Smartphone Photography
You do not need a DSLR camera. Modern smartphones can take professional-quality doll photos with these settings:
- Use portrait mode — Creates a shallow depth of field that blurs the background and focuses attention on the doll
- Tap to focus — Always tap on the doll's face before shooting to ensure sharp focus where it matters most
- Adjust exposure — After tapping to focus, slide the exposure slider up slightly to brighten the image
- Use macro mode — For close-up detail shots of fabric texture, buttons, or accessories, switch to macro mode (available on most recent iPhones and Androids)
- Avoid digital zoom — Move closer physically instead of zooming, which reduces image quality
- Shoot in RAW — If your phone supports it, RAW format gives you more flexibility in editing
4. Posing Your Doll
A well-posed doll looks alive. A poorly posed doll looks like a toy. Here are posing tips for articulated dolls:
- Weight on one leg — Shift the doll so it leans slightly to one side, creating a natural S-curve
- Hands on hips — A confident pose that works with most outfits
- Arms crossed — Creates a cool, casual attitude
- Head tilt — A slight head tilt adds personality and curiosity
- Sitting poses — For 1/12 BJD and OB11 dolls, a seated pose on a miniature chair creates an intimate scene
- Action poses — For dolls wearing the Retro Pilot Suit, a standing pose with scarf blowing creates dynamic movement
5. Styling for Photos
The outfit you choose affects how the photo will look. Here are styling tips for maximum visual impact:
- Contrast the background — If your background is white, dress the doll in dark colors. If the background is dark, use bright colors
- Add accessories — Transparent Glasses ($9.60) add instant character to any outfit
- Layer for depth — A vest over a T-shirt, a scarf over a coat — layers add visual interest
- Choose outfits with texture — The Dark Blue Sailor Suit has multiple textures (collar, bow, pleats) that photograph beautifully
- Use props — A miniature book, tiny mug, or small flower adds storytelling context
6. Composition: The Rule of Thirds
Divide your frame into a 3x3 grid (most phones have a grid option in settings). Place your doll at one of the four intersection points, not dead center. This creates a more dynamic, visually interesting composition. For full-body shots, position the doll on the left or right third. For close-up portraits, place the eyes at the upper third line.
7. Angles: Shoot From Different Perspectives
The same doll can look completely different from different angles. Try these:
- Eye level — Get down to the doll's eye level for an intimate, personal feel
- 45 degrees above — Creates a cute, looking-down perspective that works well for onesies and cute outfits
- From below — Makes the doll look heroic and dramatic. Great for the Prince Cape Suit
- Overhead (flat lay) — Lay the doll flat and shoot from directly above. Perfect for showing full outfits
- Side profile — Shows the outfit silhouette and is great for hats and headwear
8. Editing: Less Is More
Post-processing should enhance, not transform. Here are editing tips:
- Brightness and contrast — Increase brightness by 10-15% and contrast by 5-10% for a clean, crisp look
- Saturation — Boost saturation by 5-10% to make colors pop. Do not overdo it
- Sharpening — A slight sharpening (10-20%) enhances fabric texture details
- Crop — Crop to remove distractions at the edges of the frame
- Presets — Use a consistent preset or filter for a cohesive Instagram feed. Apps like VSCO, Lightroom Mobile, and Tezza offer free presets
- Avoid heavy filters — Over-filtered photos look artificial and lose the texture details that make doll photos special
9. Flat Lay Photography
Flat lay photos (shooting from directly above) are perfect for showing off complete outfits and accessory collections. Lay out the doll, all outfit pieces, shoes, and accessories in an aesthetically pleasing arrangement on a flat surface. Use a solid color background. This style is especially effective for:
- Showing all pieces of a themed set like the Bunny Theme Set
- Flat lay of multiple shoes and accessories
- Before-and-after photos of outfit changes
10. Video: Doll Stop Motion and Unboxing
Video content is exploding on social media. Here are two video formats that work well for doll content:
Stop Motion Animation
Take a series of photos, moving the doll slightly between each shot. When played back at 10-15 frames per second, it creates a charming stop-motion animation. Apps like Stop Motion Studio (free) make this easy. Dress your doll in the Sweater, Pants, Hat, Glasses, Shoes Set and create a 5-second animation of the doll waving or walking.
Unboxing Videos
Film yourself opening a Plush Blind Box for the first time. Capture the sealed box, the tearing open, the reveal, and your reaction. Unboxing videos are some of the most-watched content on TikTok and YouTube Shorts.
11. Social Media Tips for Doll Photography
- Post consistently — 3-5 times per week keeps your feed active and growing
- Use relevant hashtags — #dollphotography, #plushdoll, #dollclothes, #1/12bjd, #ob11, #niannyyhouse
- Tag us — Tag @niannyyhouse on Instagram and TikTok for a chance to be featured
- Engage with the community — Comment on and like other doll photographers' posts
- Post at peak times — 7-9 PM EST on weekdays, 11 AM-1 PM on weekends
- Use Instagram Reels — Reels get 3x more reach than static posts
Equipment Checklist
Here is everything you need for professional-quality doll photos, all under $50:
- Smartphone with portrait mode — $0 (you already have one)
- 10-inch ring light — $15-25
- White poster board (2-pack) — $2
- Acrylic display stand — $5
- Miniature props (optional) — $5-10
Total: $27-42 — That is all you need to start taking magazine-quality doll photos.
Start Photographing Your Collection
Ready to take your doll photography to the next level? Shop new outfits and accessories for your next photo shoot:
Tag us at @niannyyhouse on Instagram and @niannyyhouse on TikTok for a chance to be featured!